
前述
最近木子的 MacBook M4 Pro 14CPU + 20GPU + 48G MEM 京东首发已经到货三周了,一直没有跑大模型,简直有点暴遣天物,所以必须整一套 ComfyUI 来体验一下。最近官方出了 ComfyUI Desktop For macOS App,可以直接安装,相对于 Linux 命令行安装 ComfyUI,简单太多了,基本上就是傻瓜式安装。
这是一篇水文,主要目的在于告诉各位同学可以使用 macOS ComfyUI 桌面版了,当然后续 macOS ComfyUI 桌面版的升级或使用上的一些问题,也会在此文基础上迭代更新。
木子近期在为现有 MacBook 升级 ComfyUI 的过程中,发现桌面版有诸多更新,与以往的配置方式有较大差异,因此重新撰写了本文,以便大家参考。主要更新内容如下:
- 配置流程从原先的英文界面升级为自动适配系统环境语言,默认支持简体中文,提升了本地化体验。
- 新增对 GPU 类型的自动识别,提高了硬件适配的便捷性。
- 迁移旧版 ComfyUI 时,原工作流目录为
/app/ComfyUI/my_workflows,新版迁移至user/default/workflows。迁移过程中会自动创建新目录并完成数据迁移,无需手动操作。 - 打开网络下载的工作流后,若遇到节点缺失等问题,可直接调出节点安装界面,系统将自动筛选当前工作流所需节点,支持一键快捷安装。
安装 ComfyUI
从 GitHub - Comfy-Org/desktop 下载最新版本的 ComfyUI 桌面版,然后进行安装,具体安装步骤如下所示,对于重点步骤会进行安装说明。
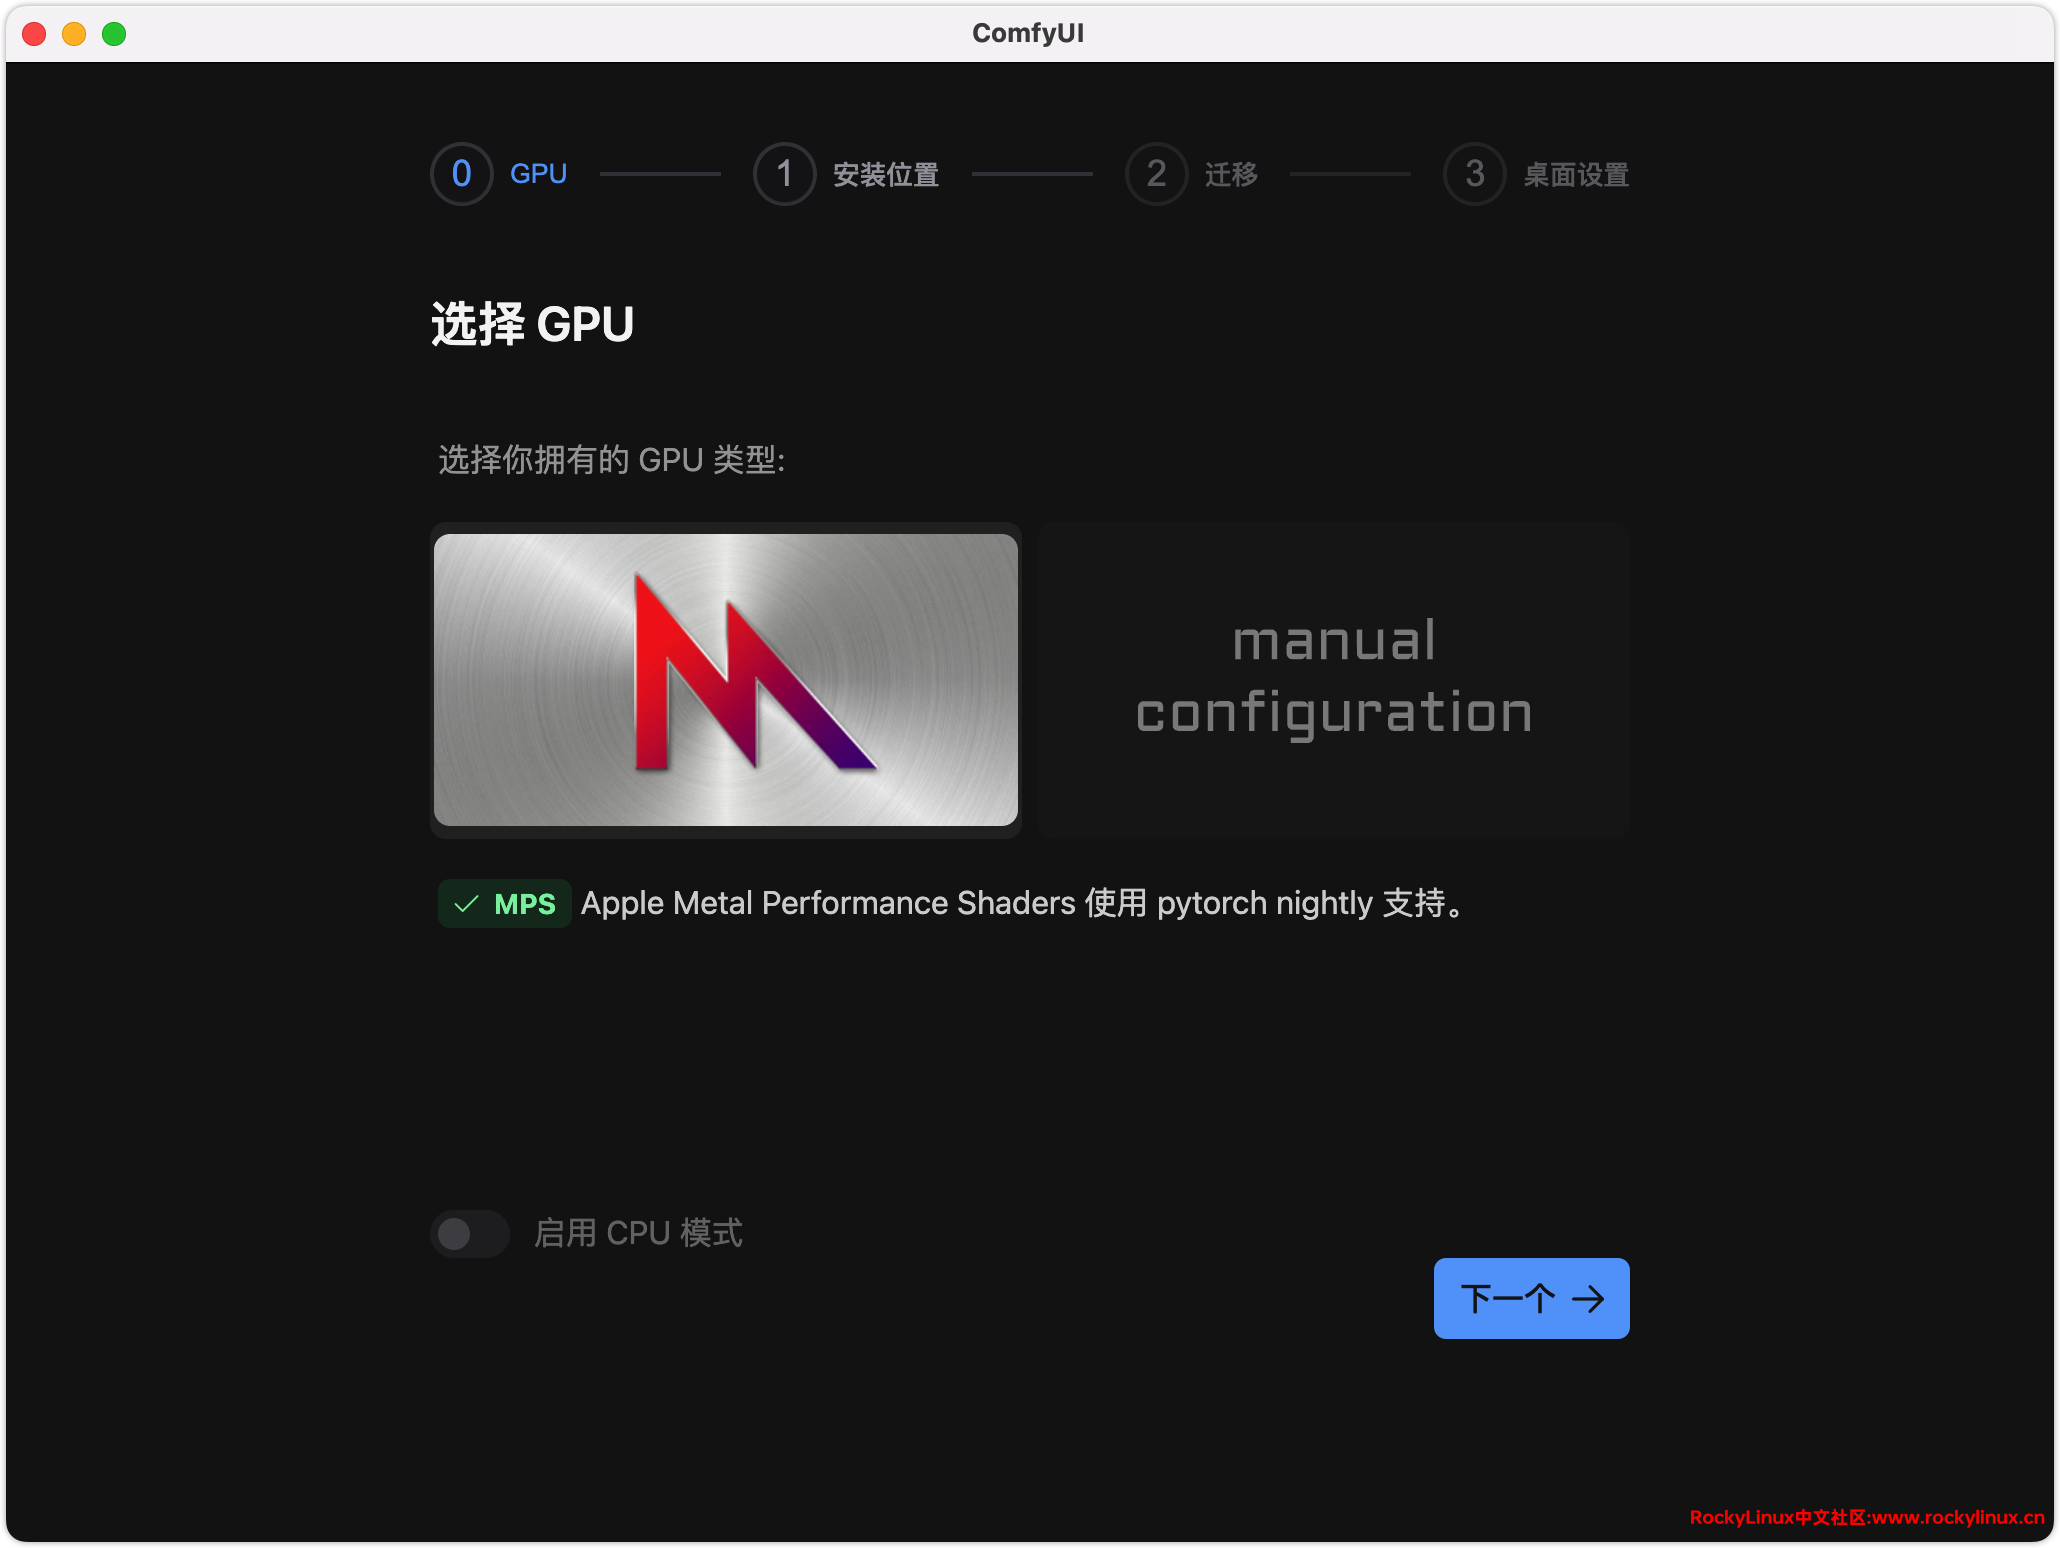
自动识别 GPU 类型。
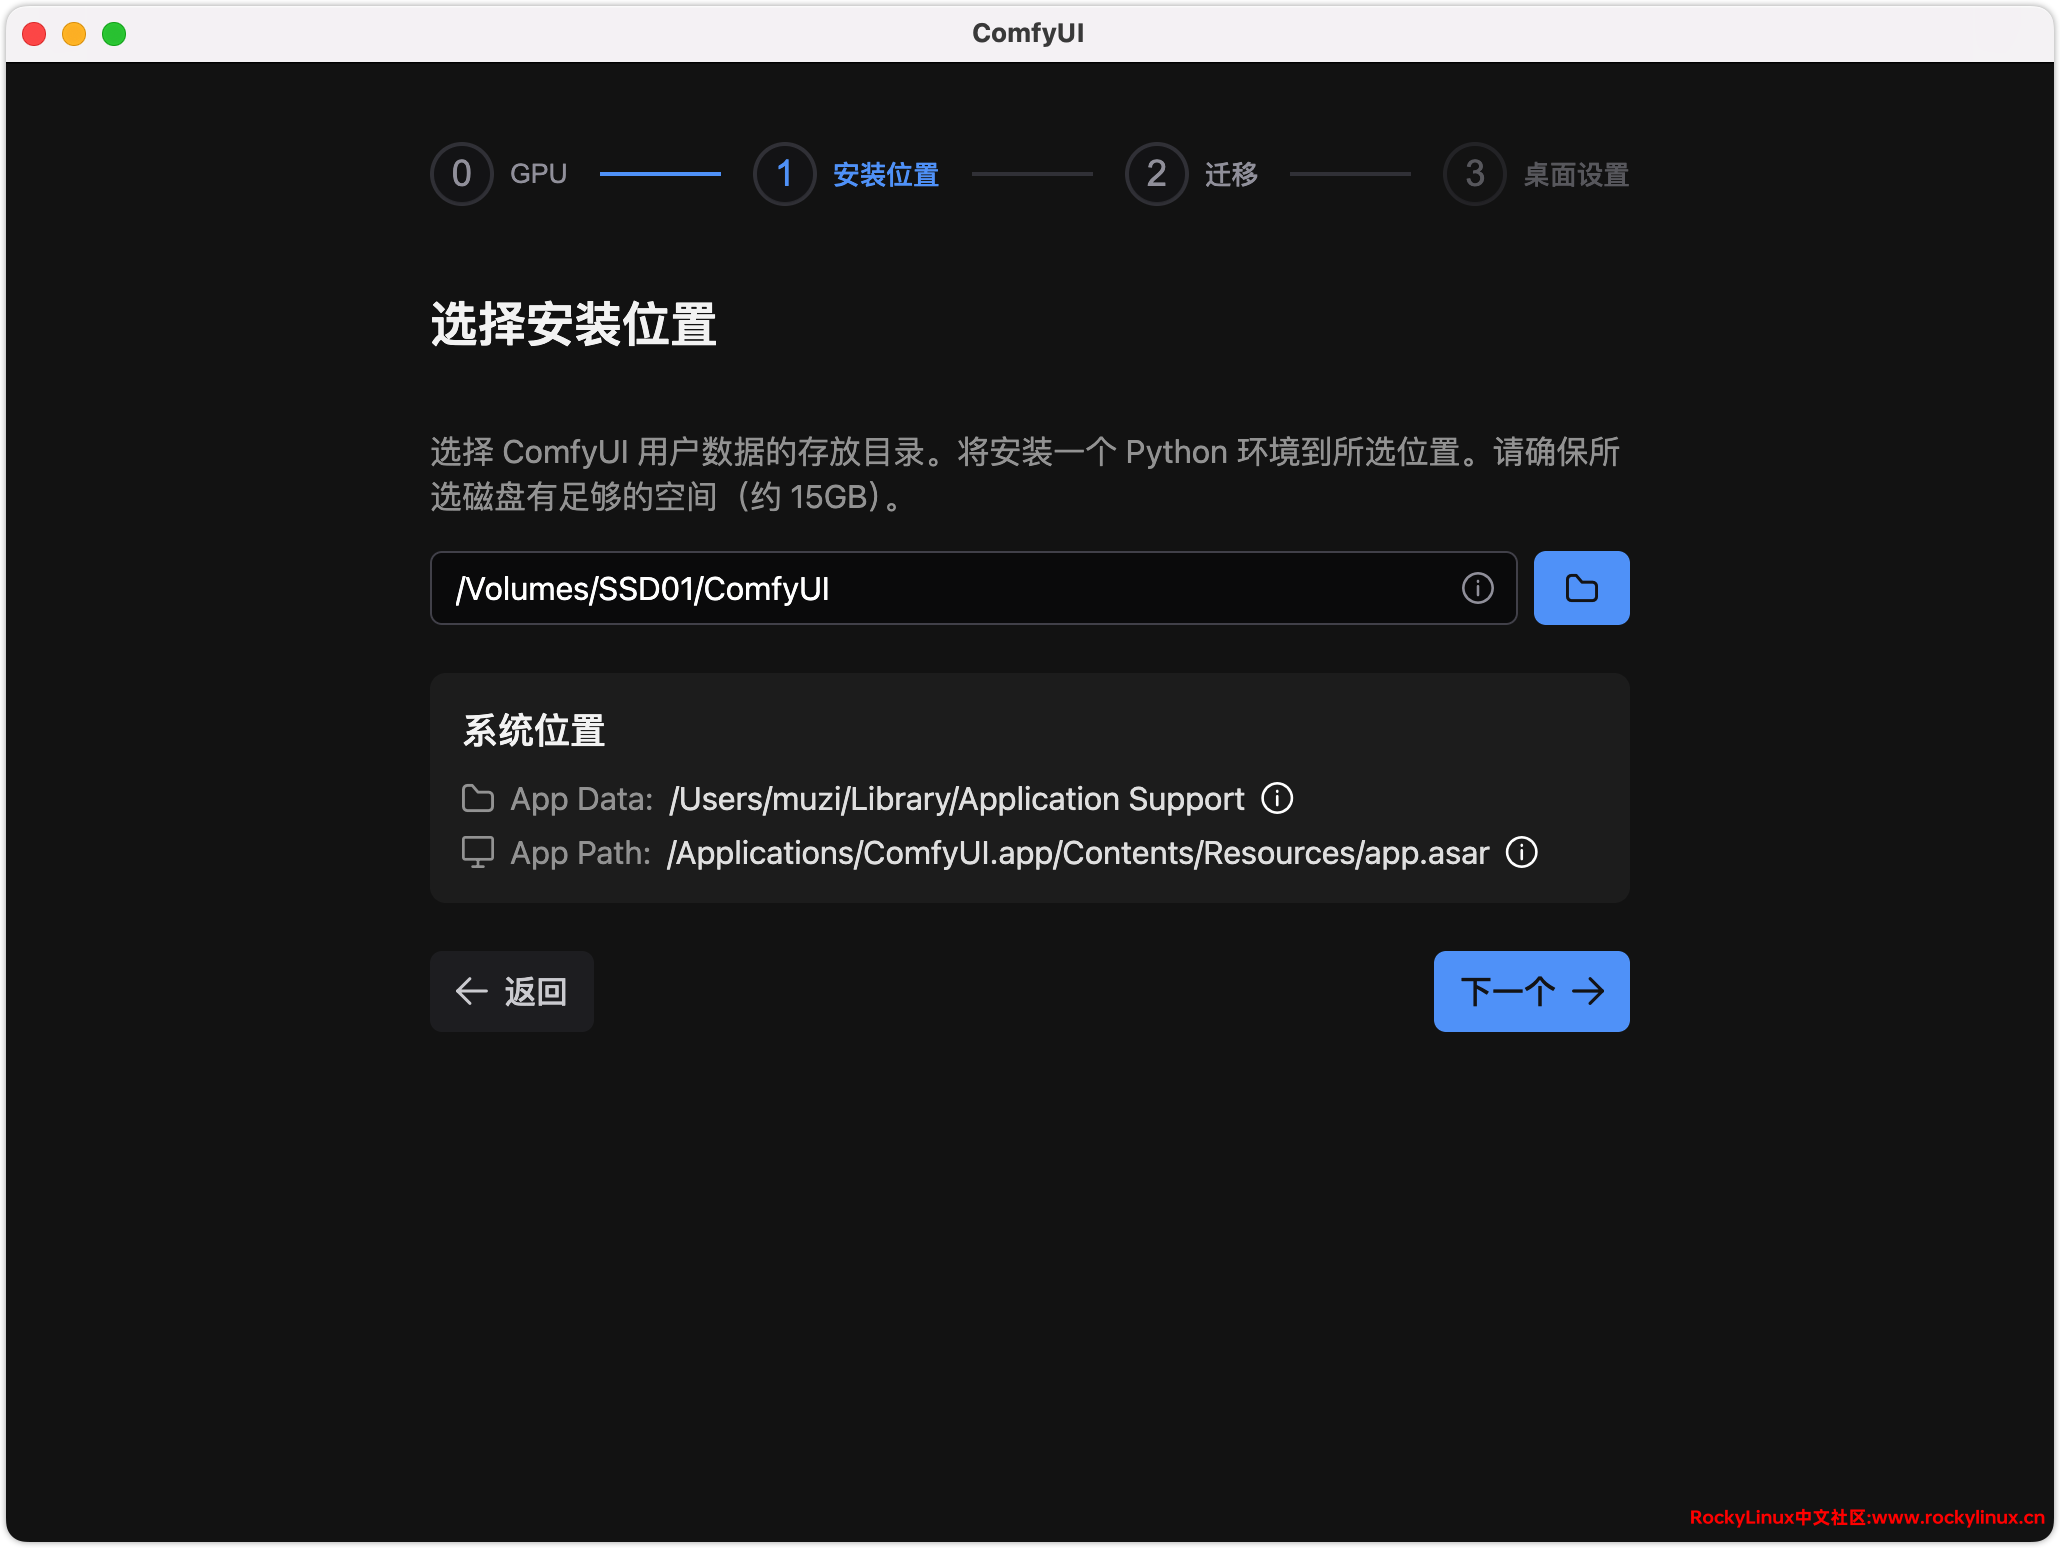
选择 ComfyUI 用户数据、Python venv 环境等安装位置,请确保所选磁盘有足够的剩余空间,大约 15GB 左右,但因为后期大模型等都是放在这个目录下管理,所以建议根据实际使用模型大小选择安装位置。
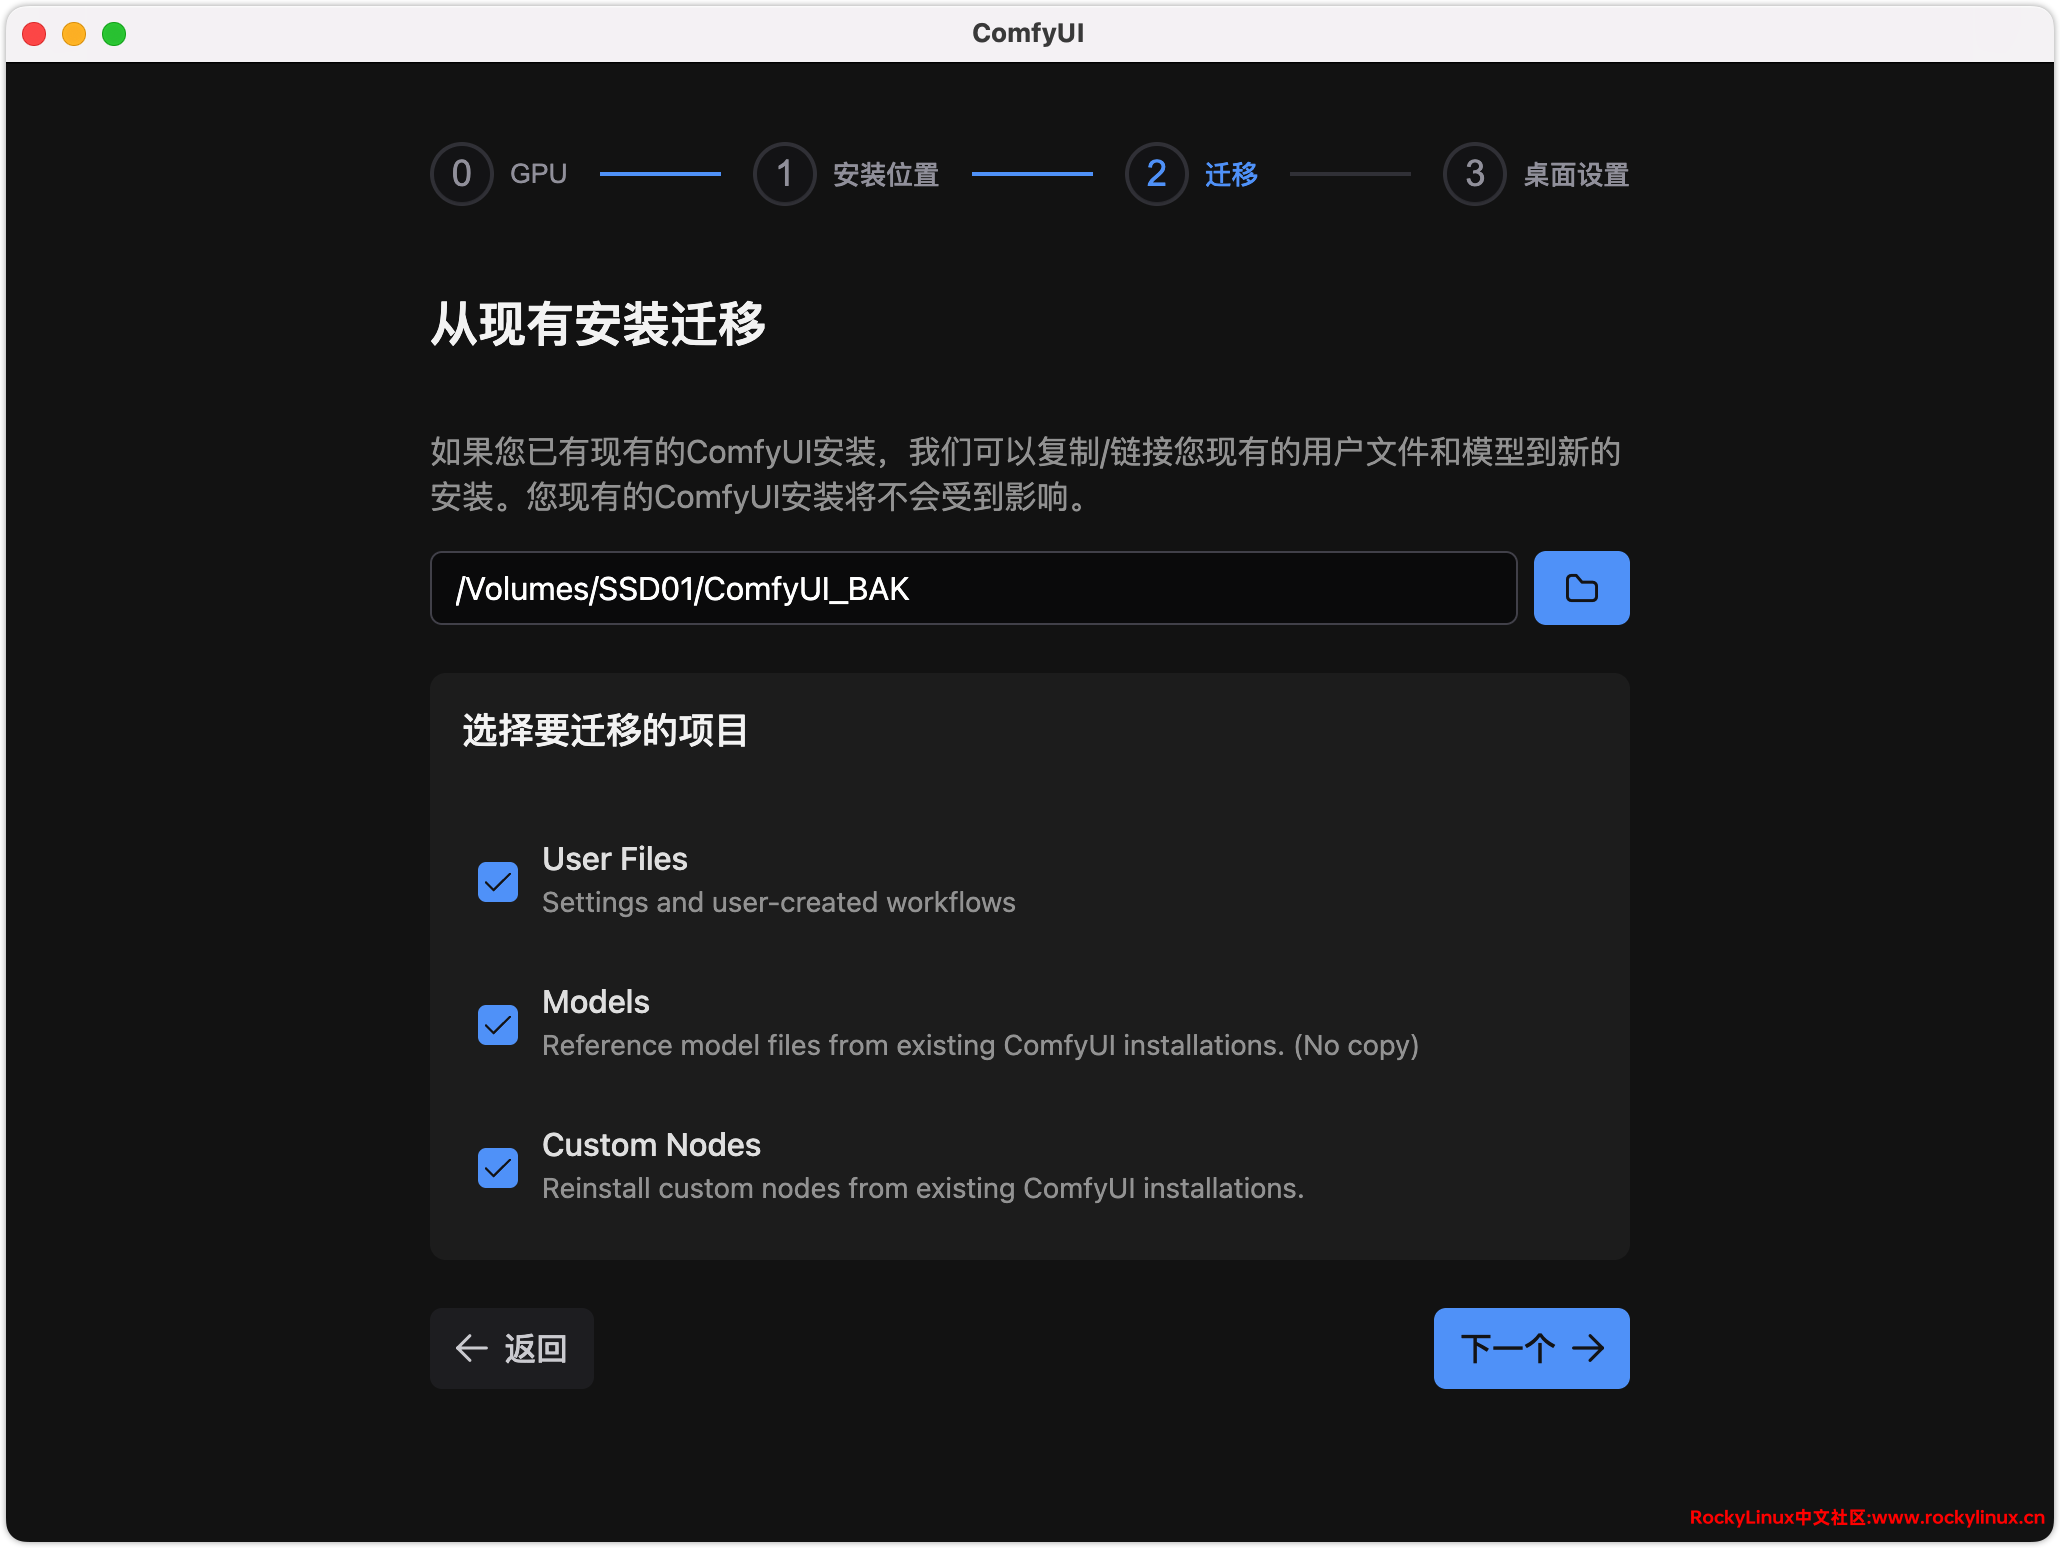
如果现在已经部署了 ComfyUI 在本地,可以将现在模型迁移至新安装的 ComfyUI,没有就跳过。
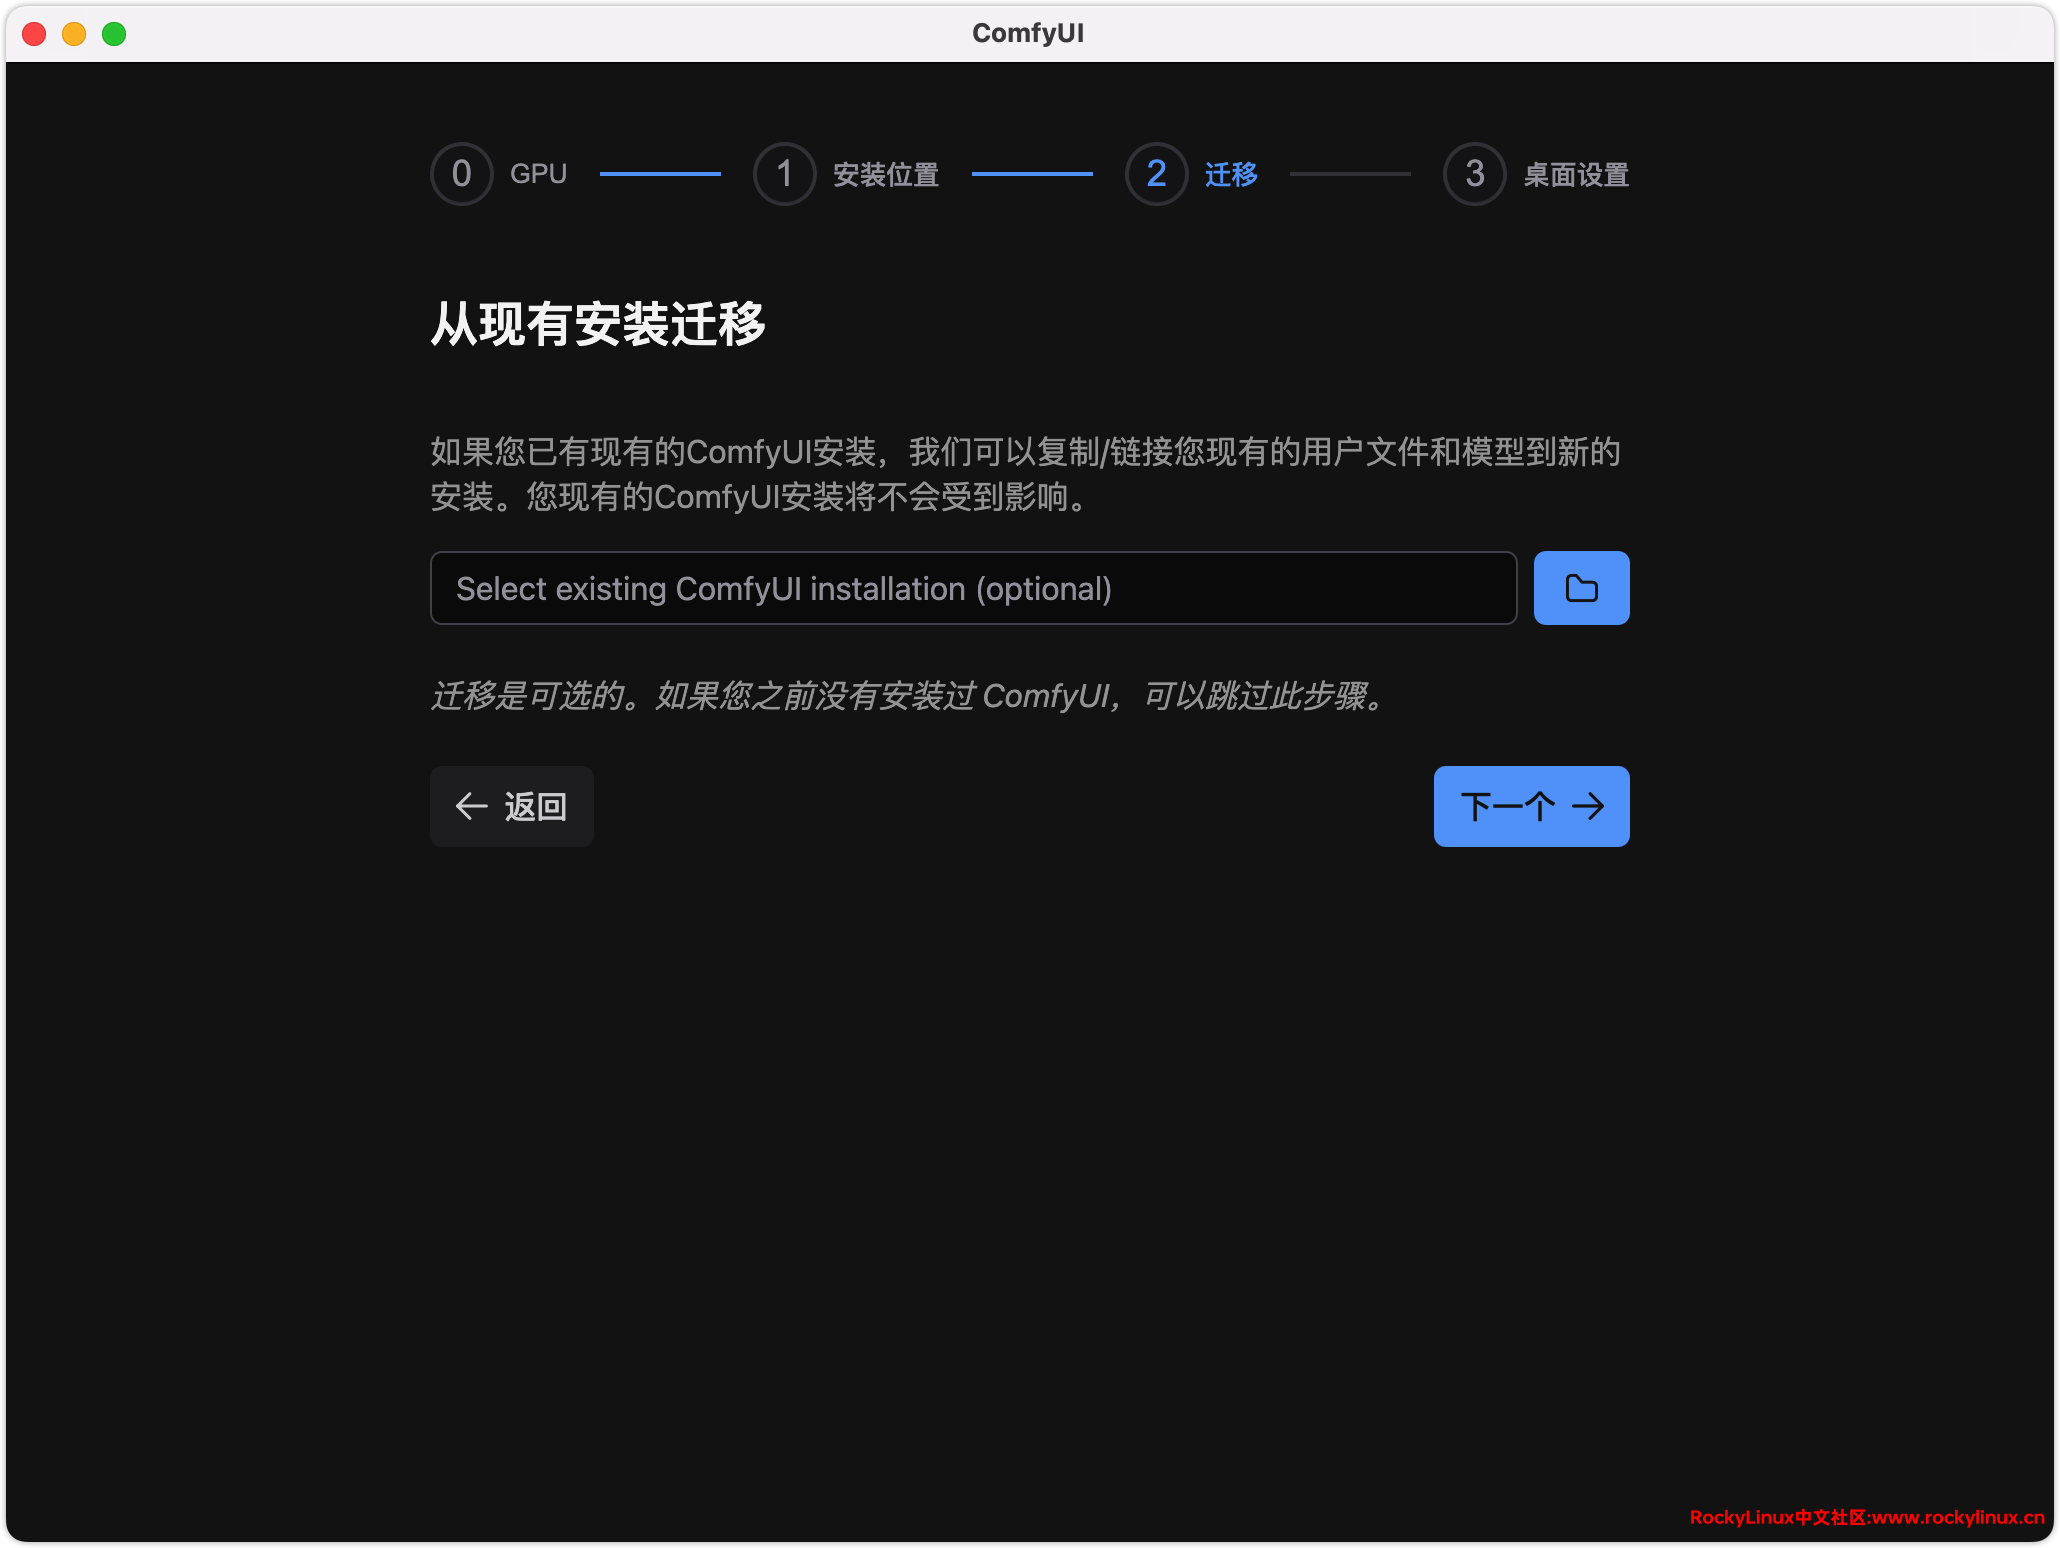
可以选择需要迁移的目录,再点击“下一步”。
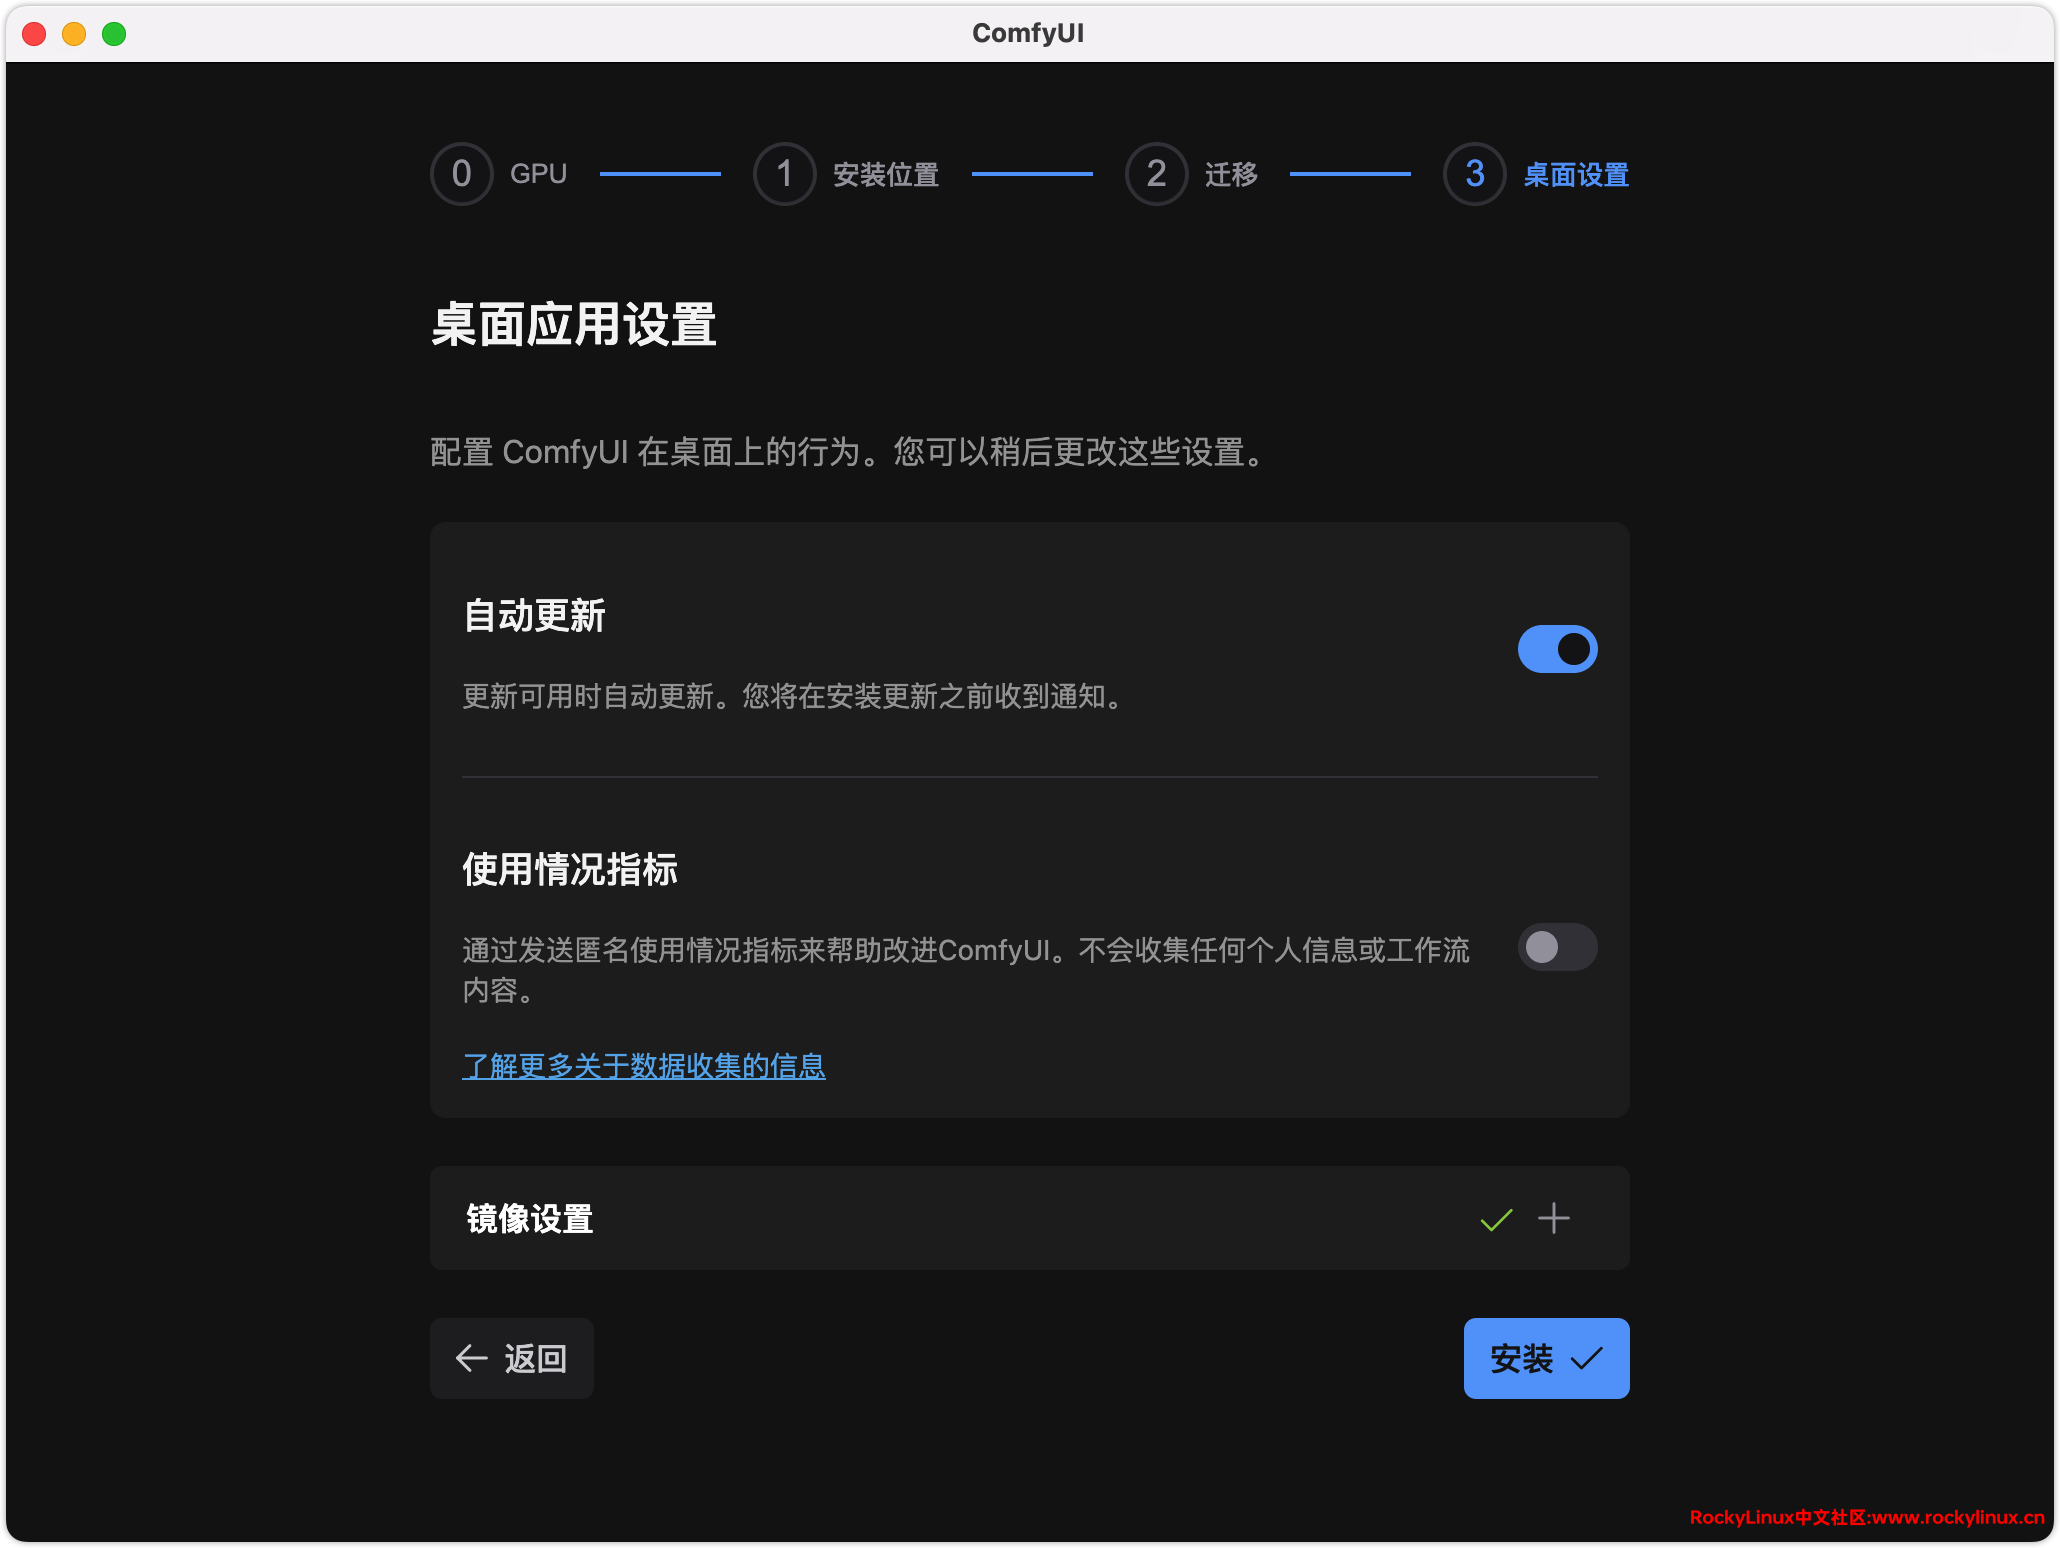
根据实际需求,开启自动更新或崩溃报告,点击“安装”。
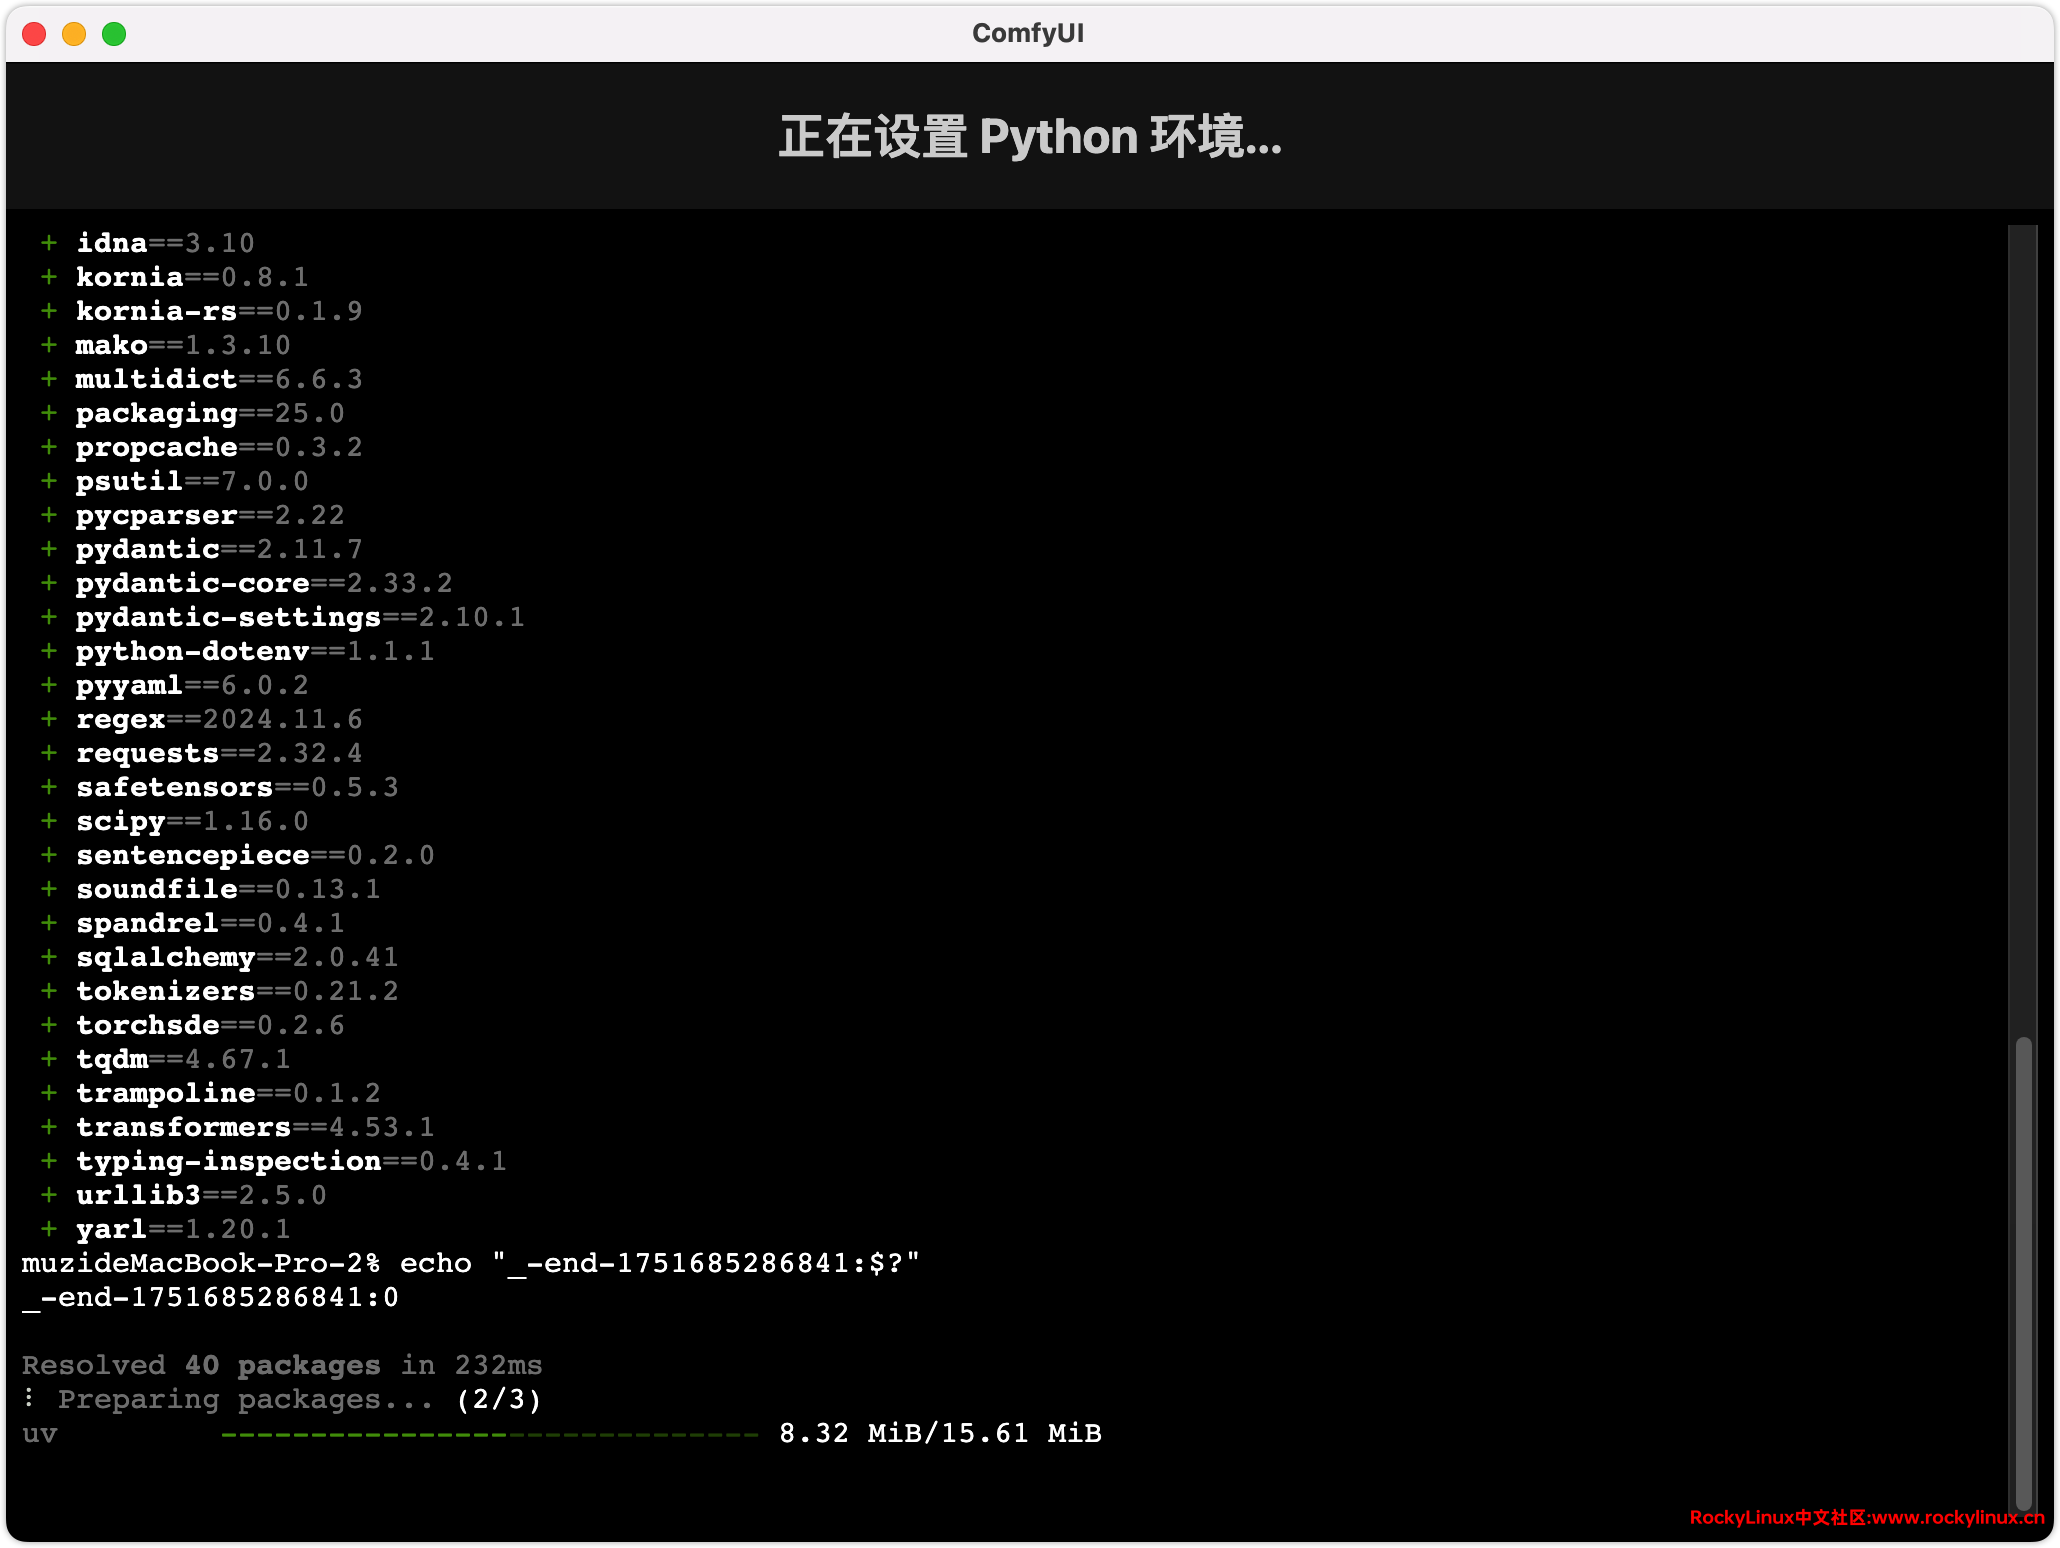
过程中会安装很多 Python 包,包括:Python venv 虚拟环境、Cpython、Torch、Torchvision、Torchaudio 等,本质和通过 Linux 安装一样的。
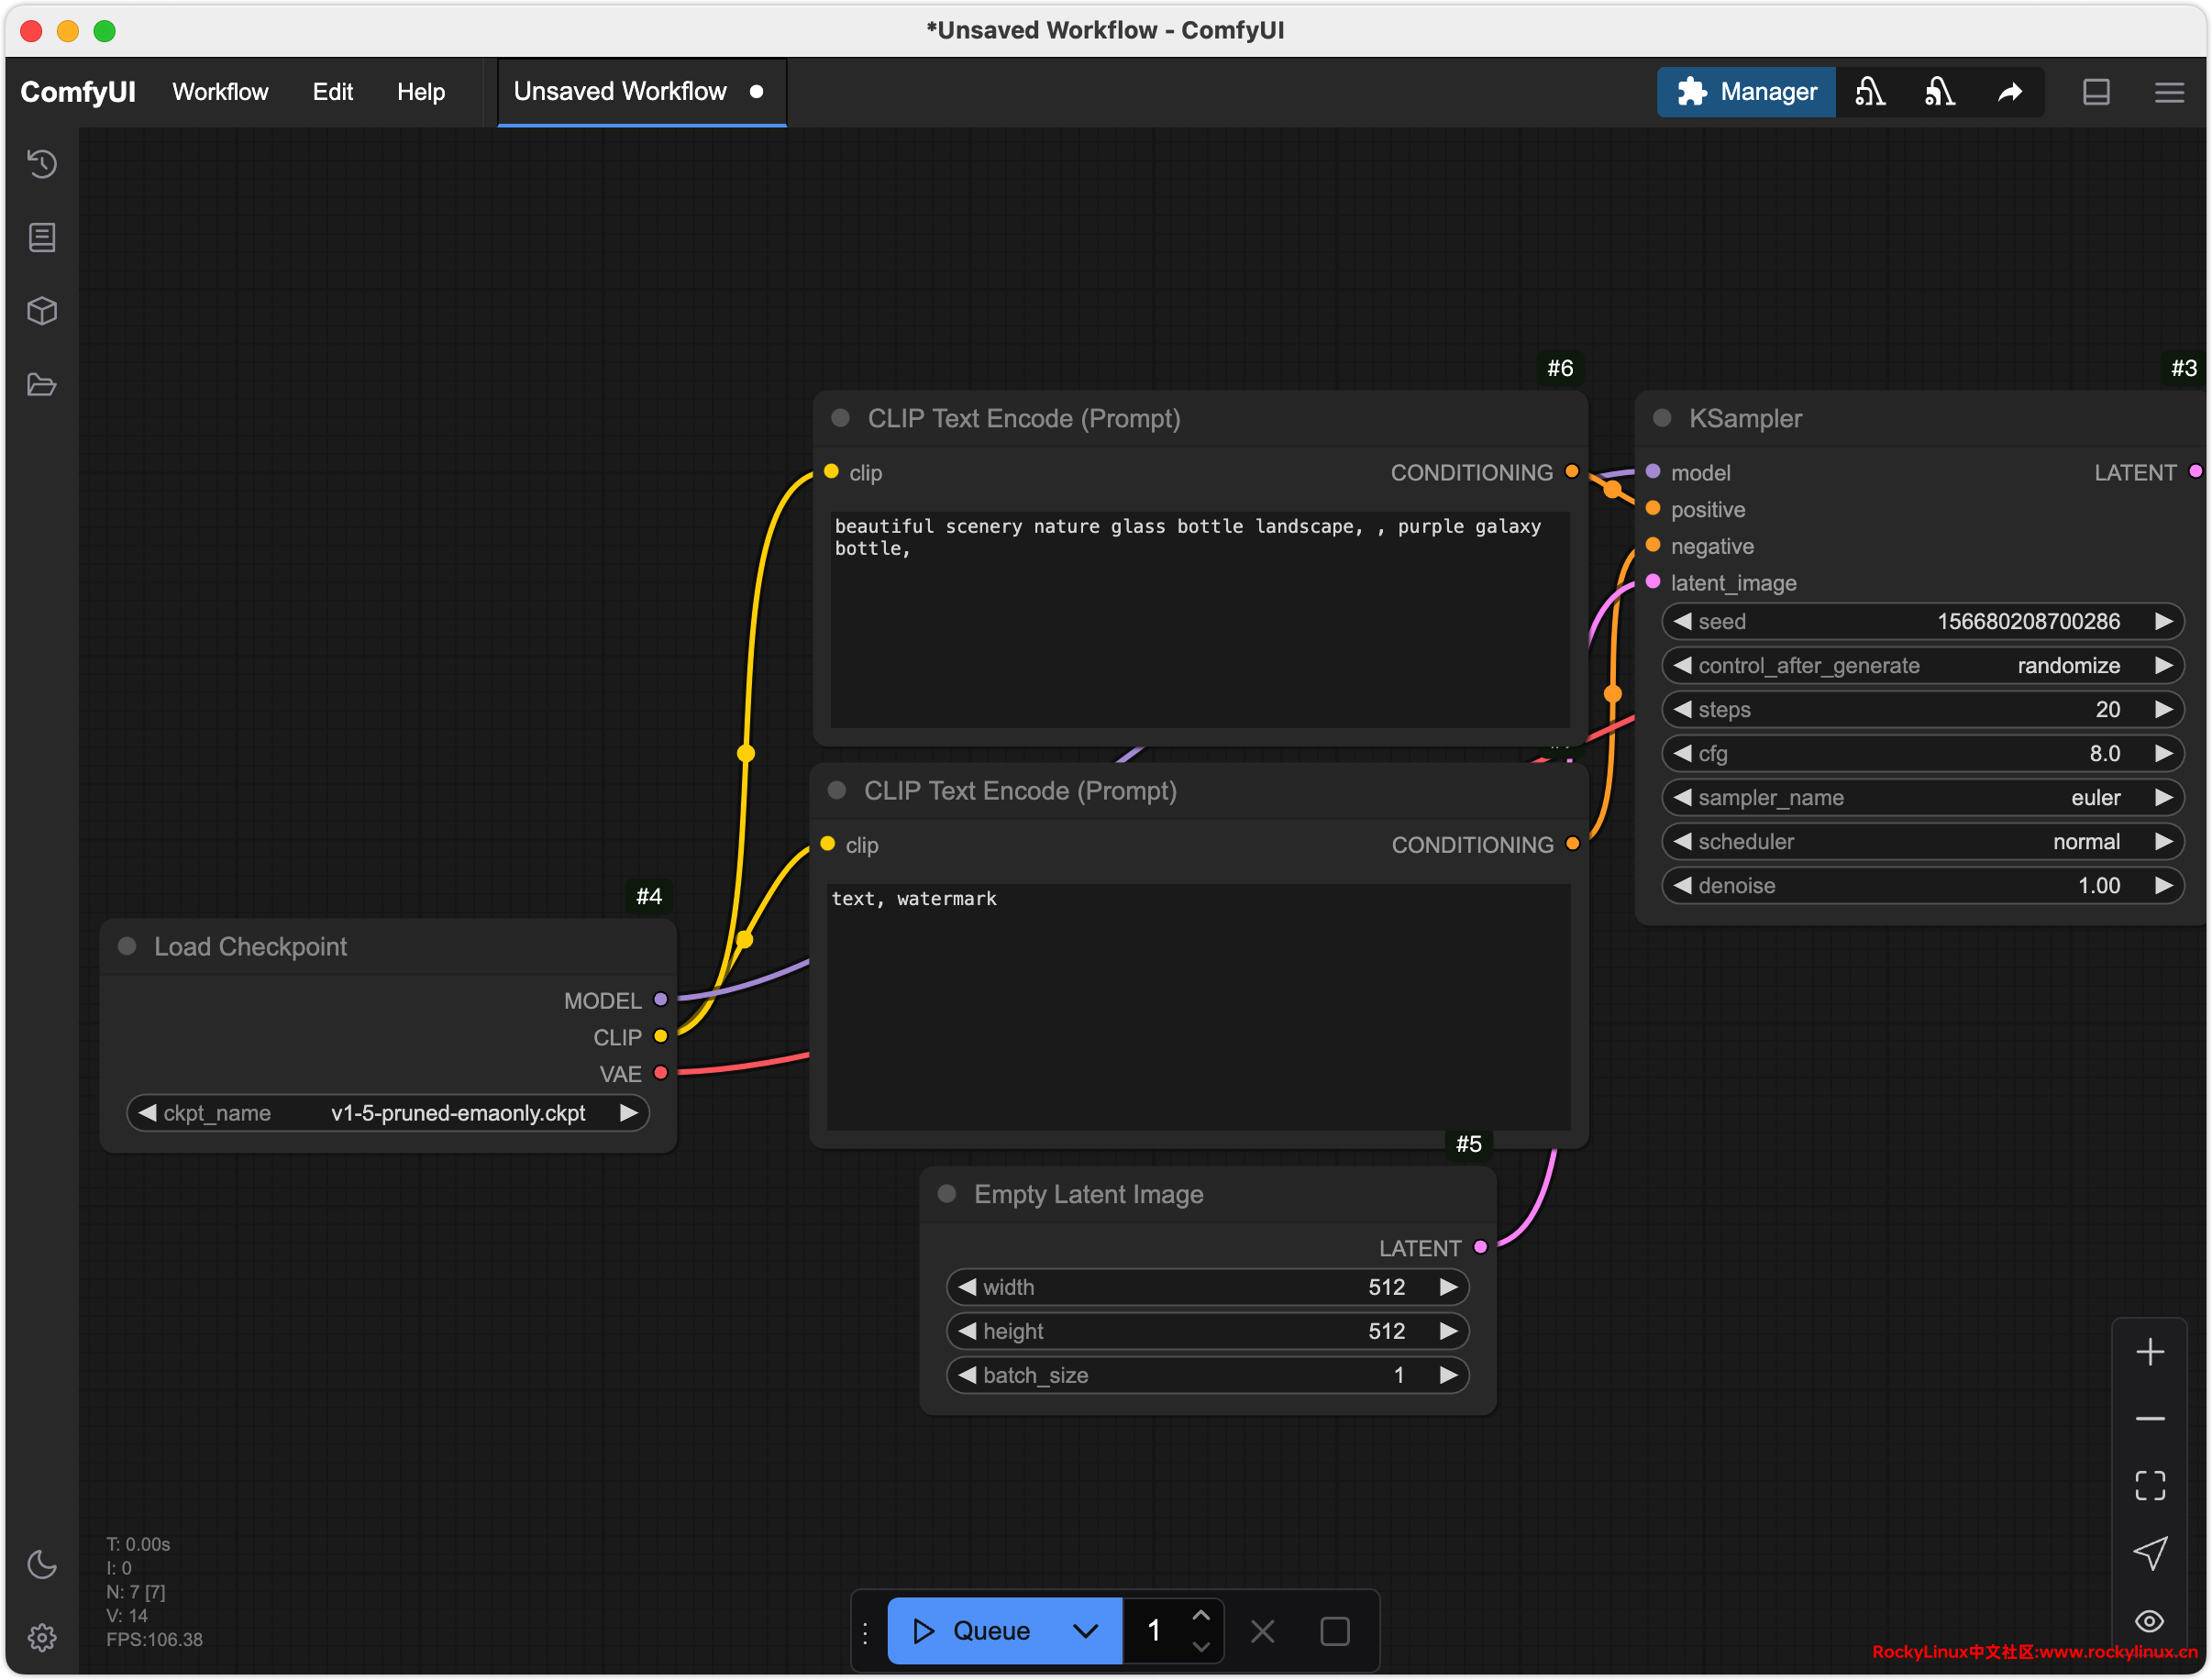
安装完成以后,默认就会有一个文生图工作流。对应模型存在,就可以正常运行。
中文设置
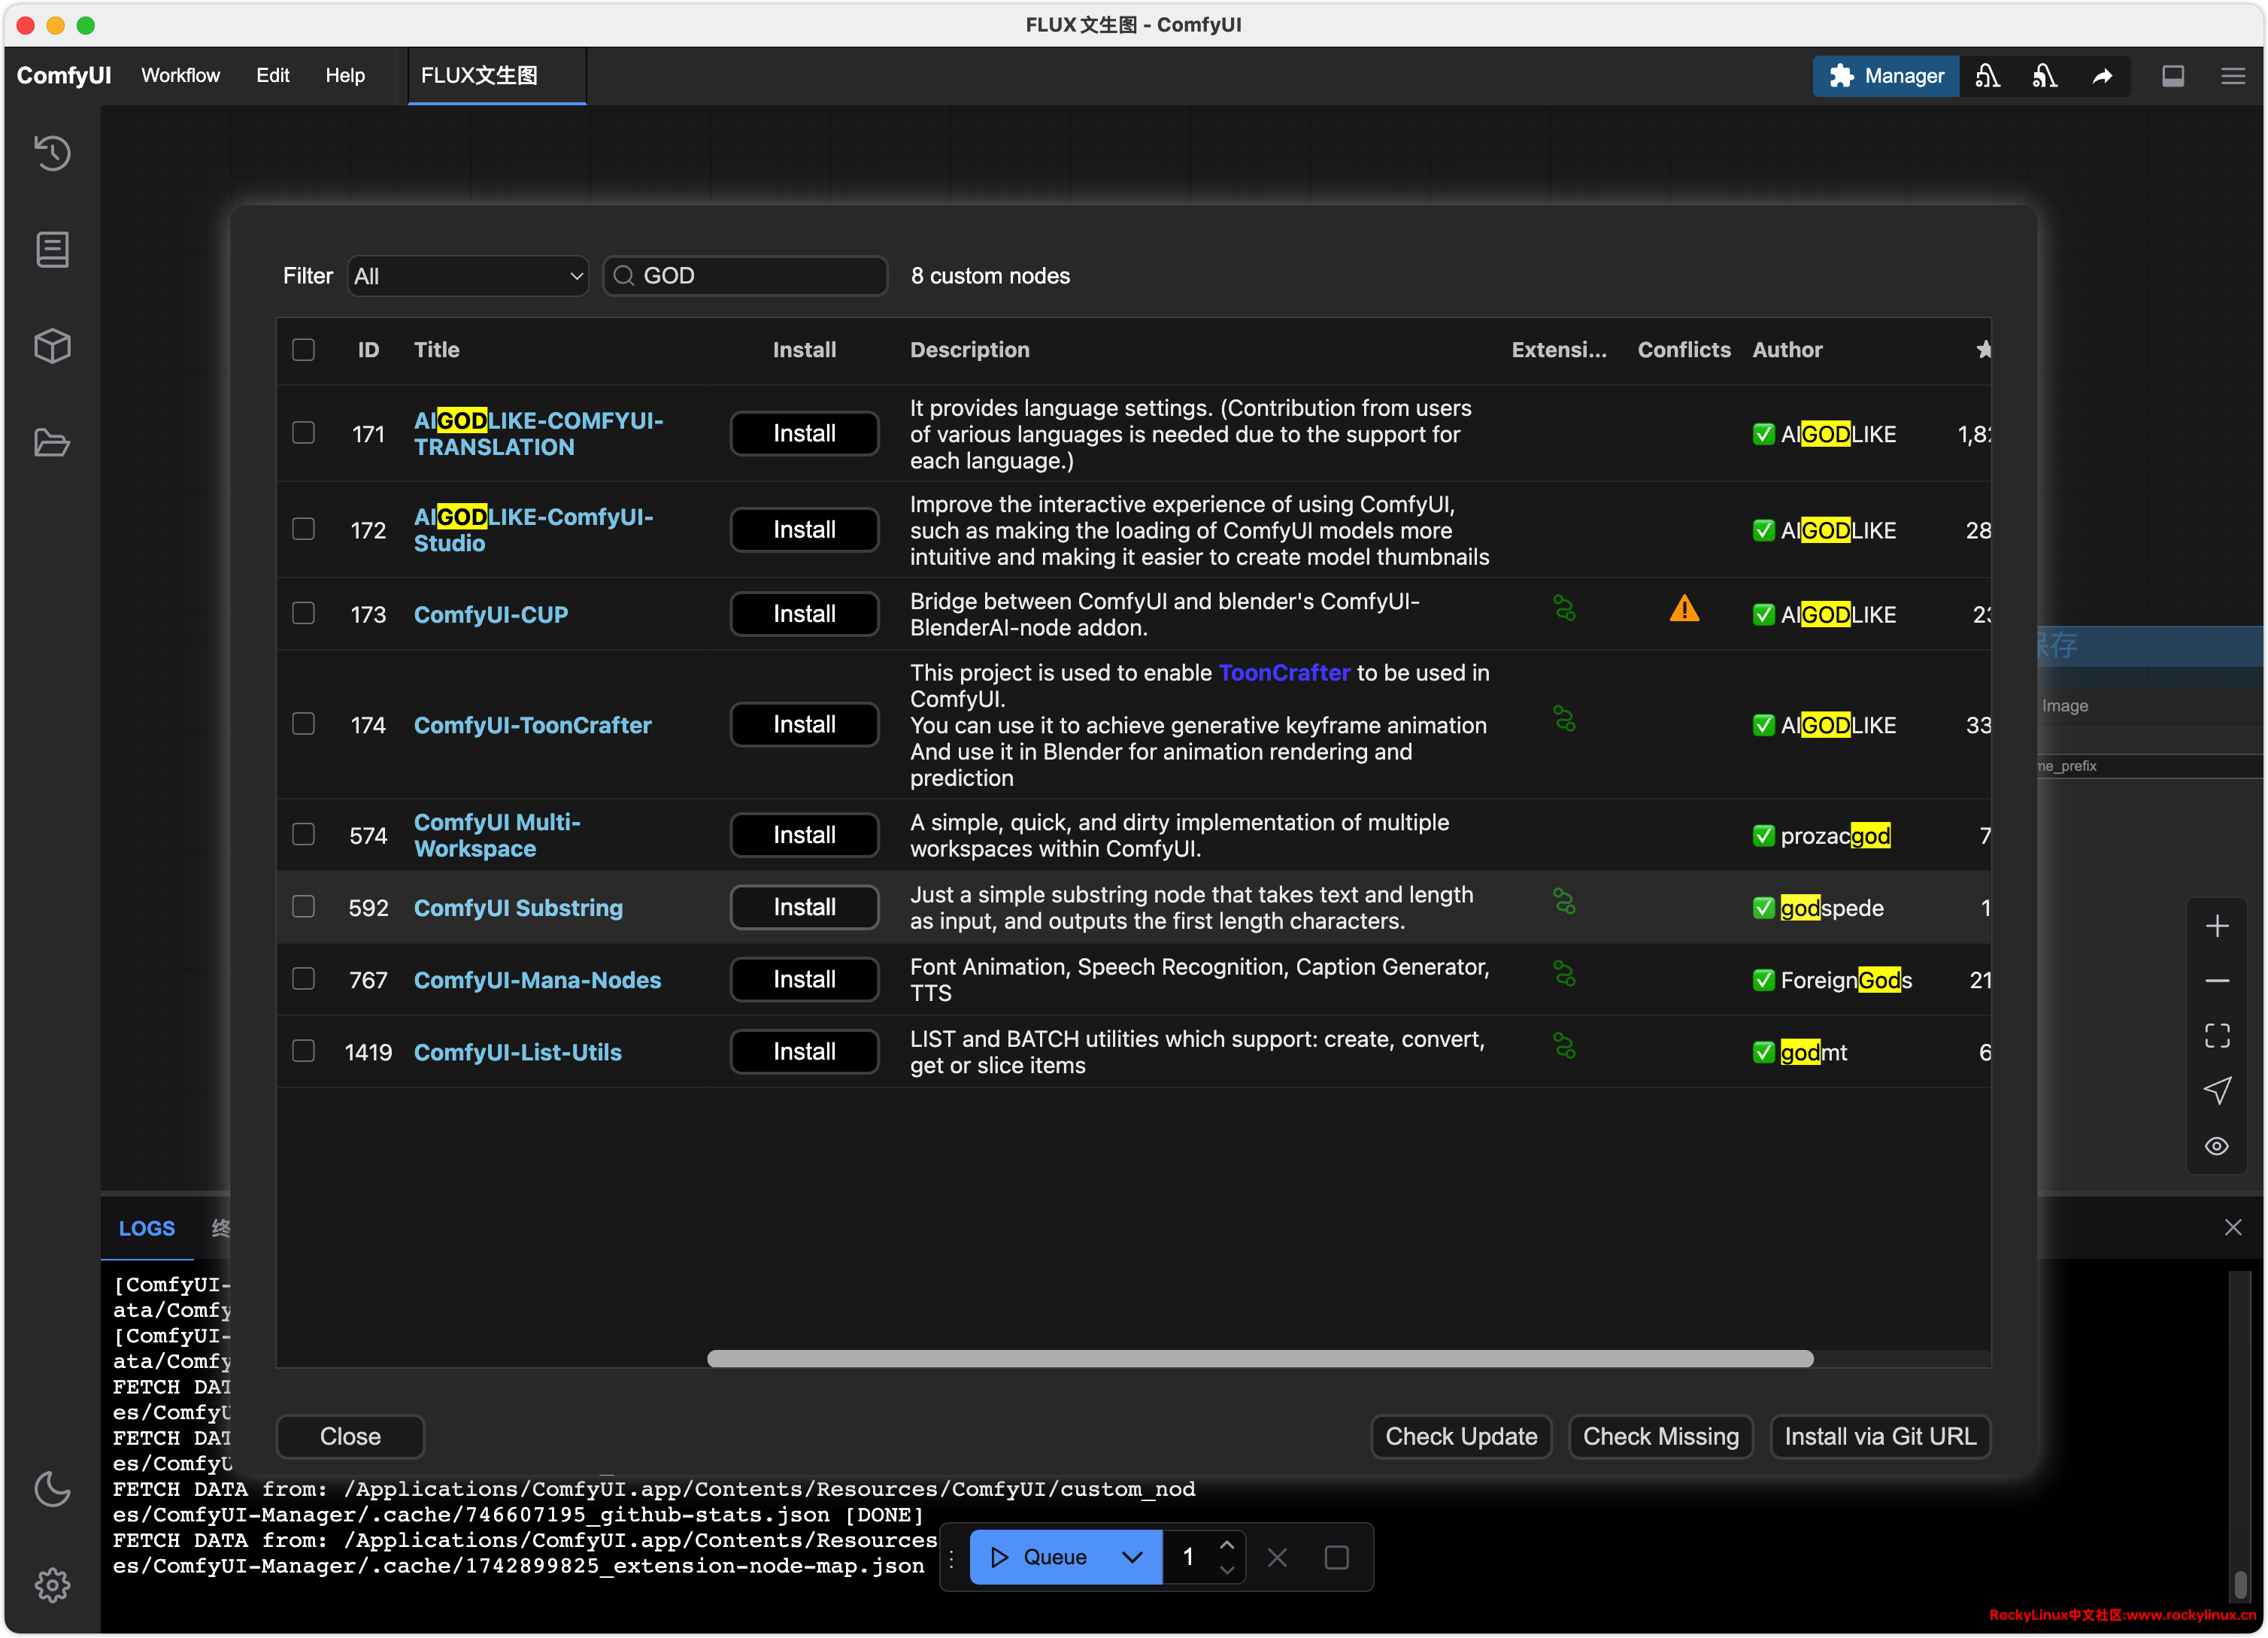
注意:旧版本 ComfyUI 需要单独安装 ComfyUI-Manager,新版本自带 ComfyUI-Manager 中文 UI 界面。
ComfyUI 桌面版默认已经安装 ComfyUI-Manager 节点管理器,所以可以直接在节点管理器中搜索 AIGODLIKE-COMFYUI-TRANSLATION,点击 “Install”,进行安装。
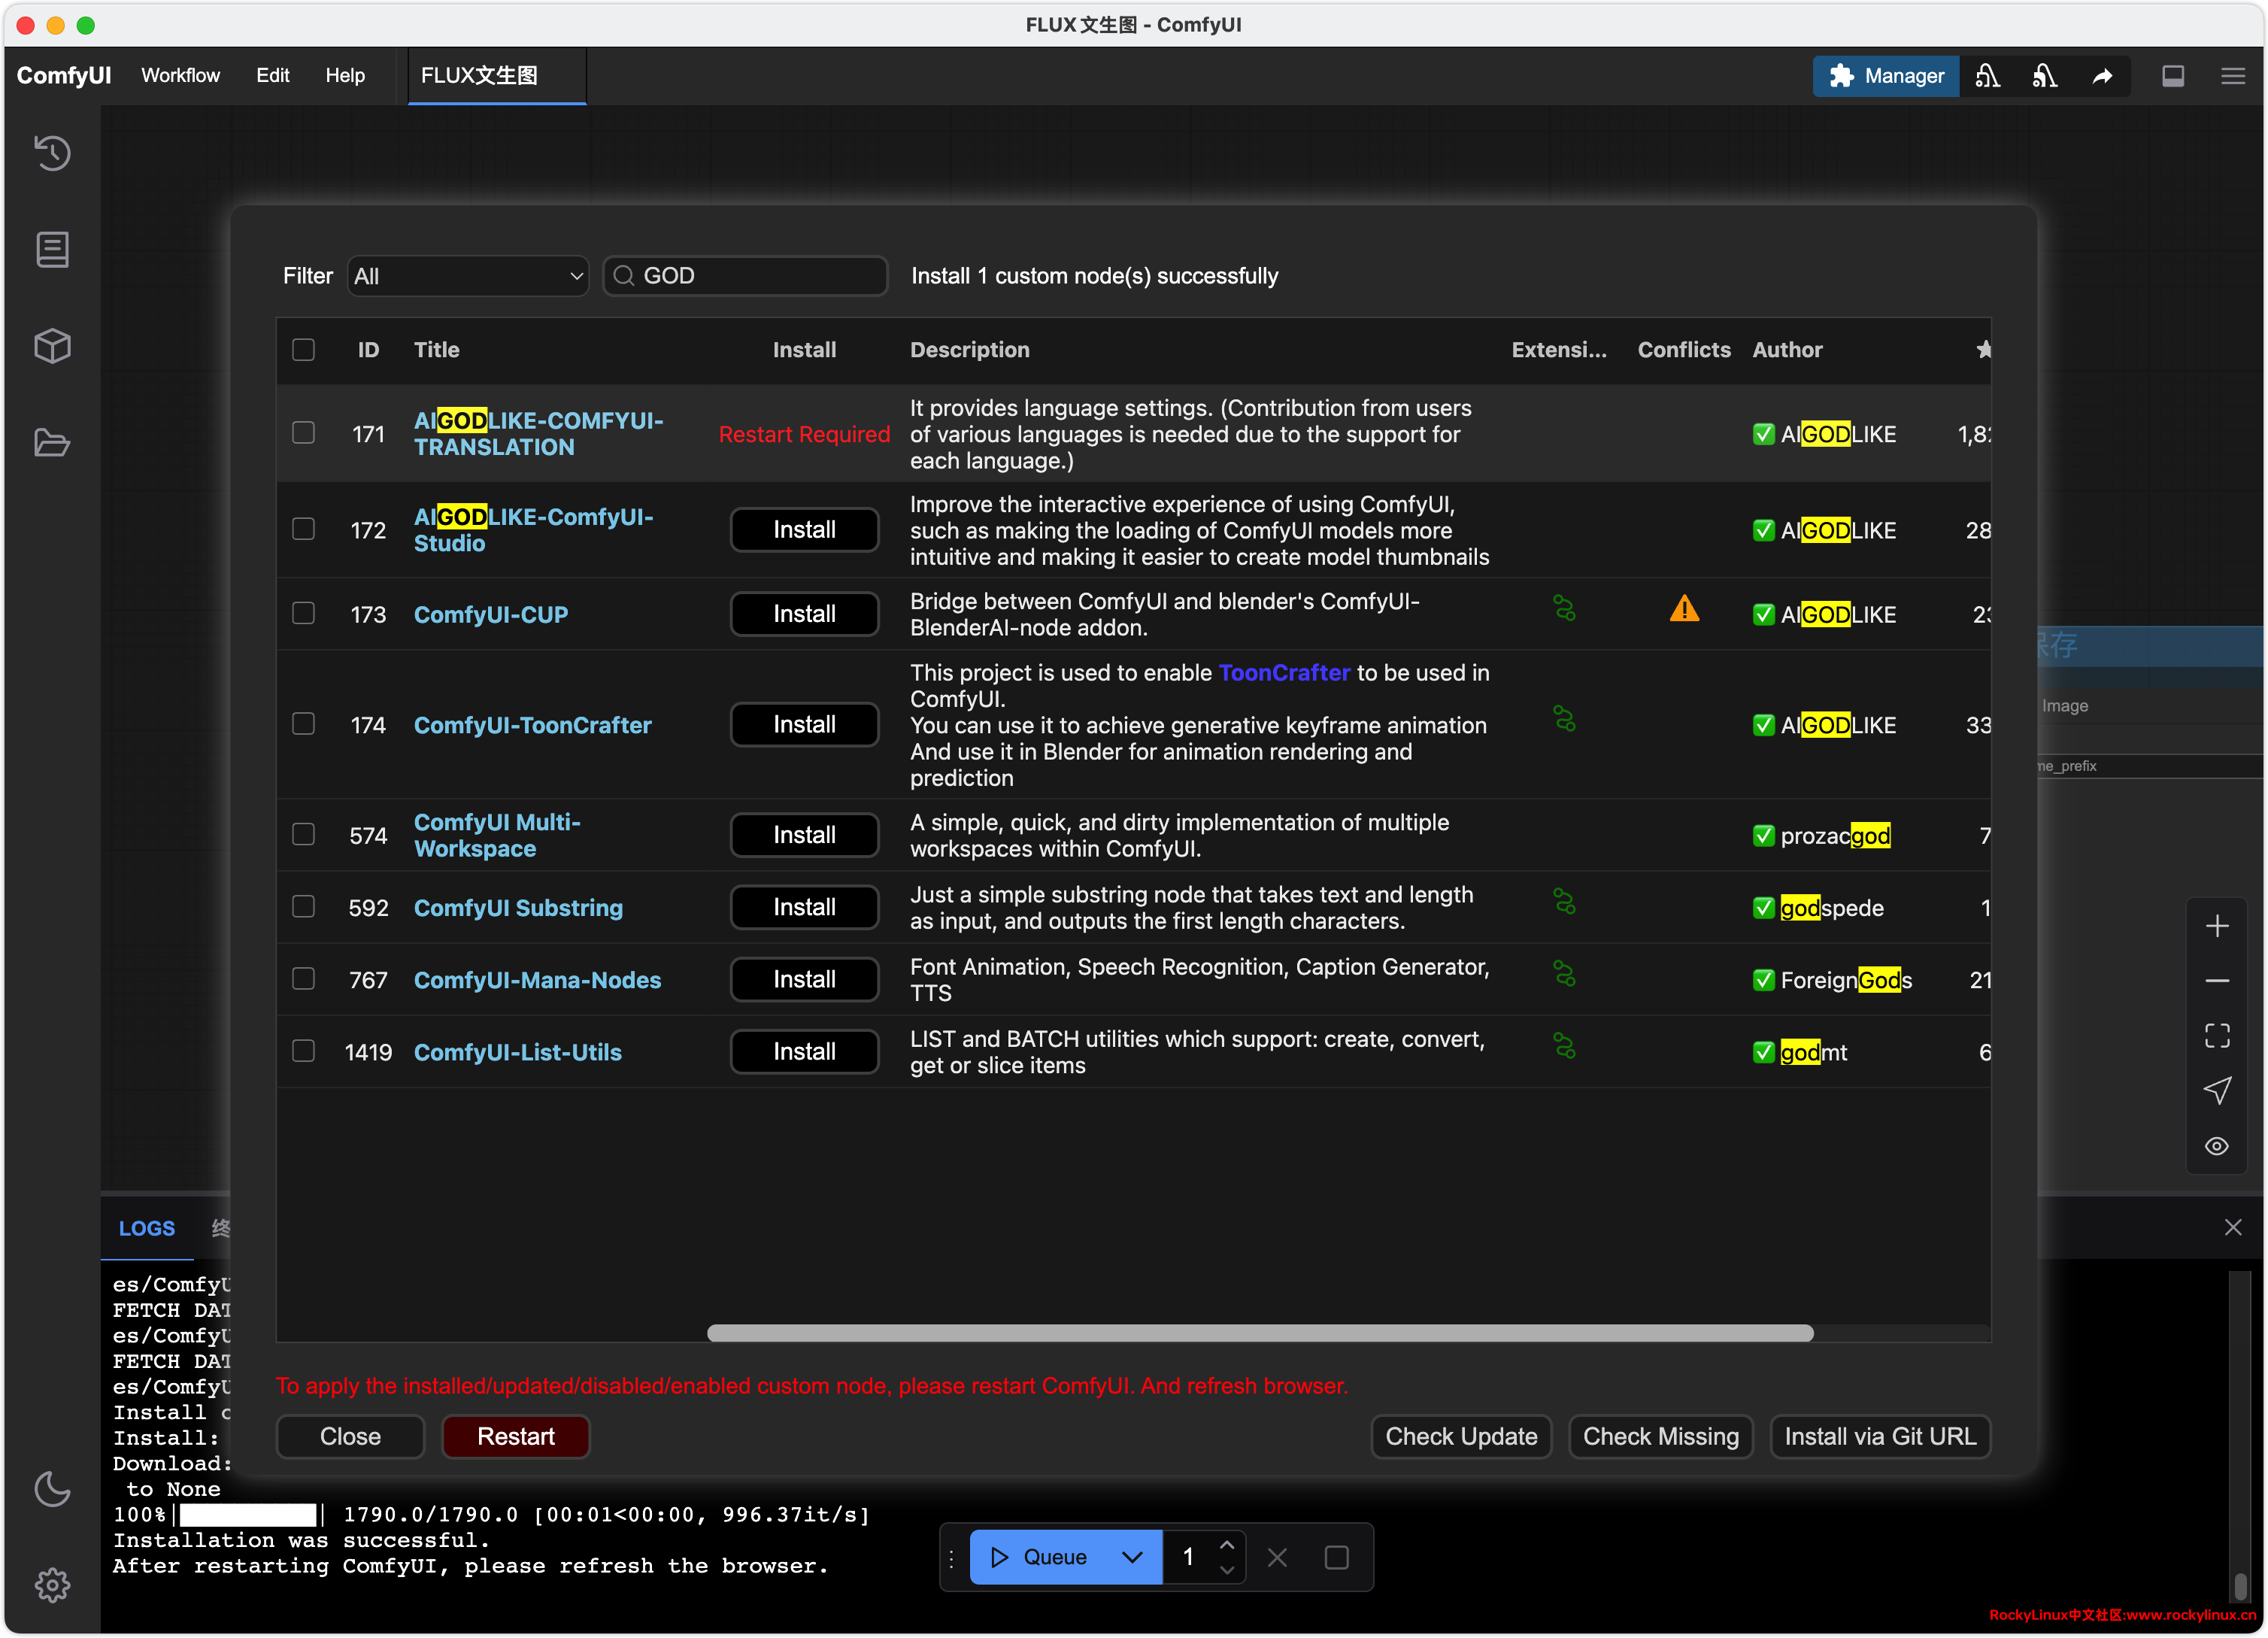
安装完成,点击“Restart”,重启 ComfyUI。
点击左下角的“设置”图标 -- AGL -- 选择“中文 [Chinese Simplified] ”,会自动重新加载界面。
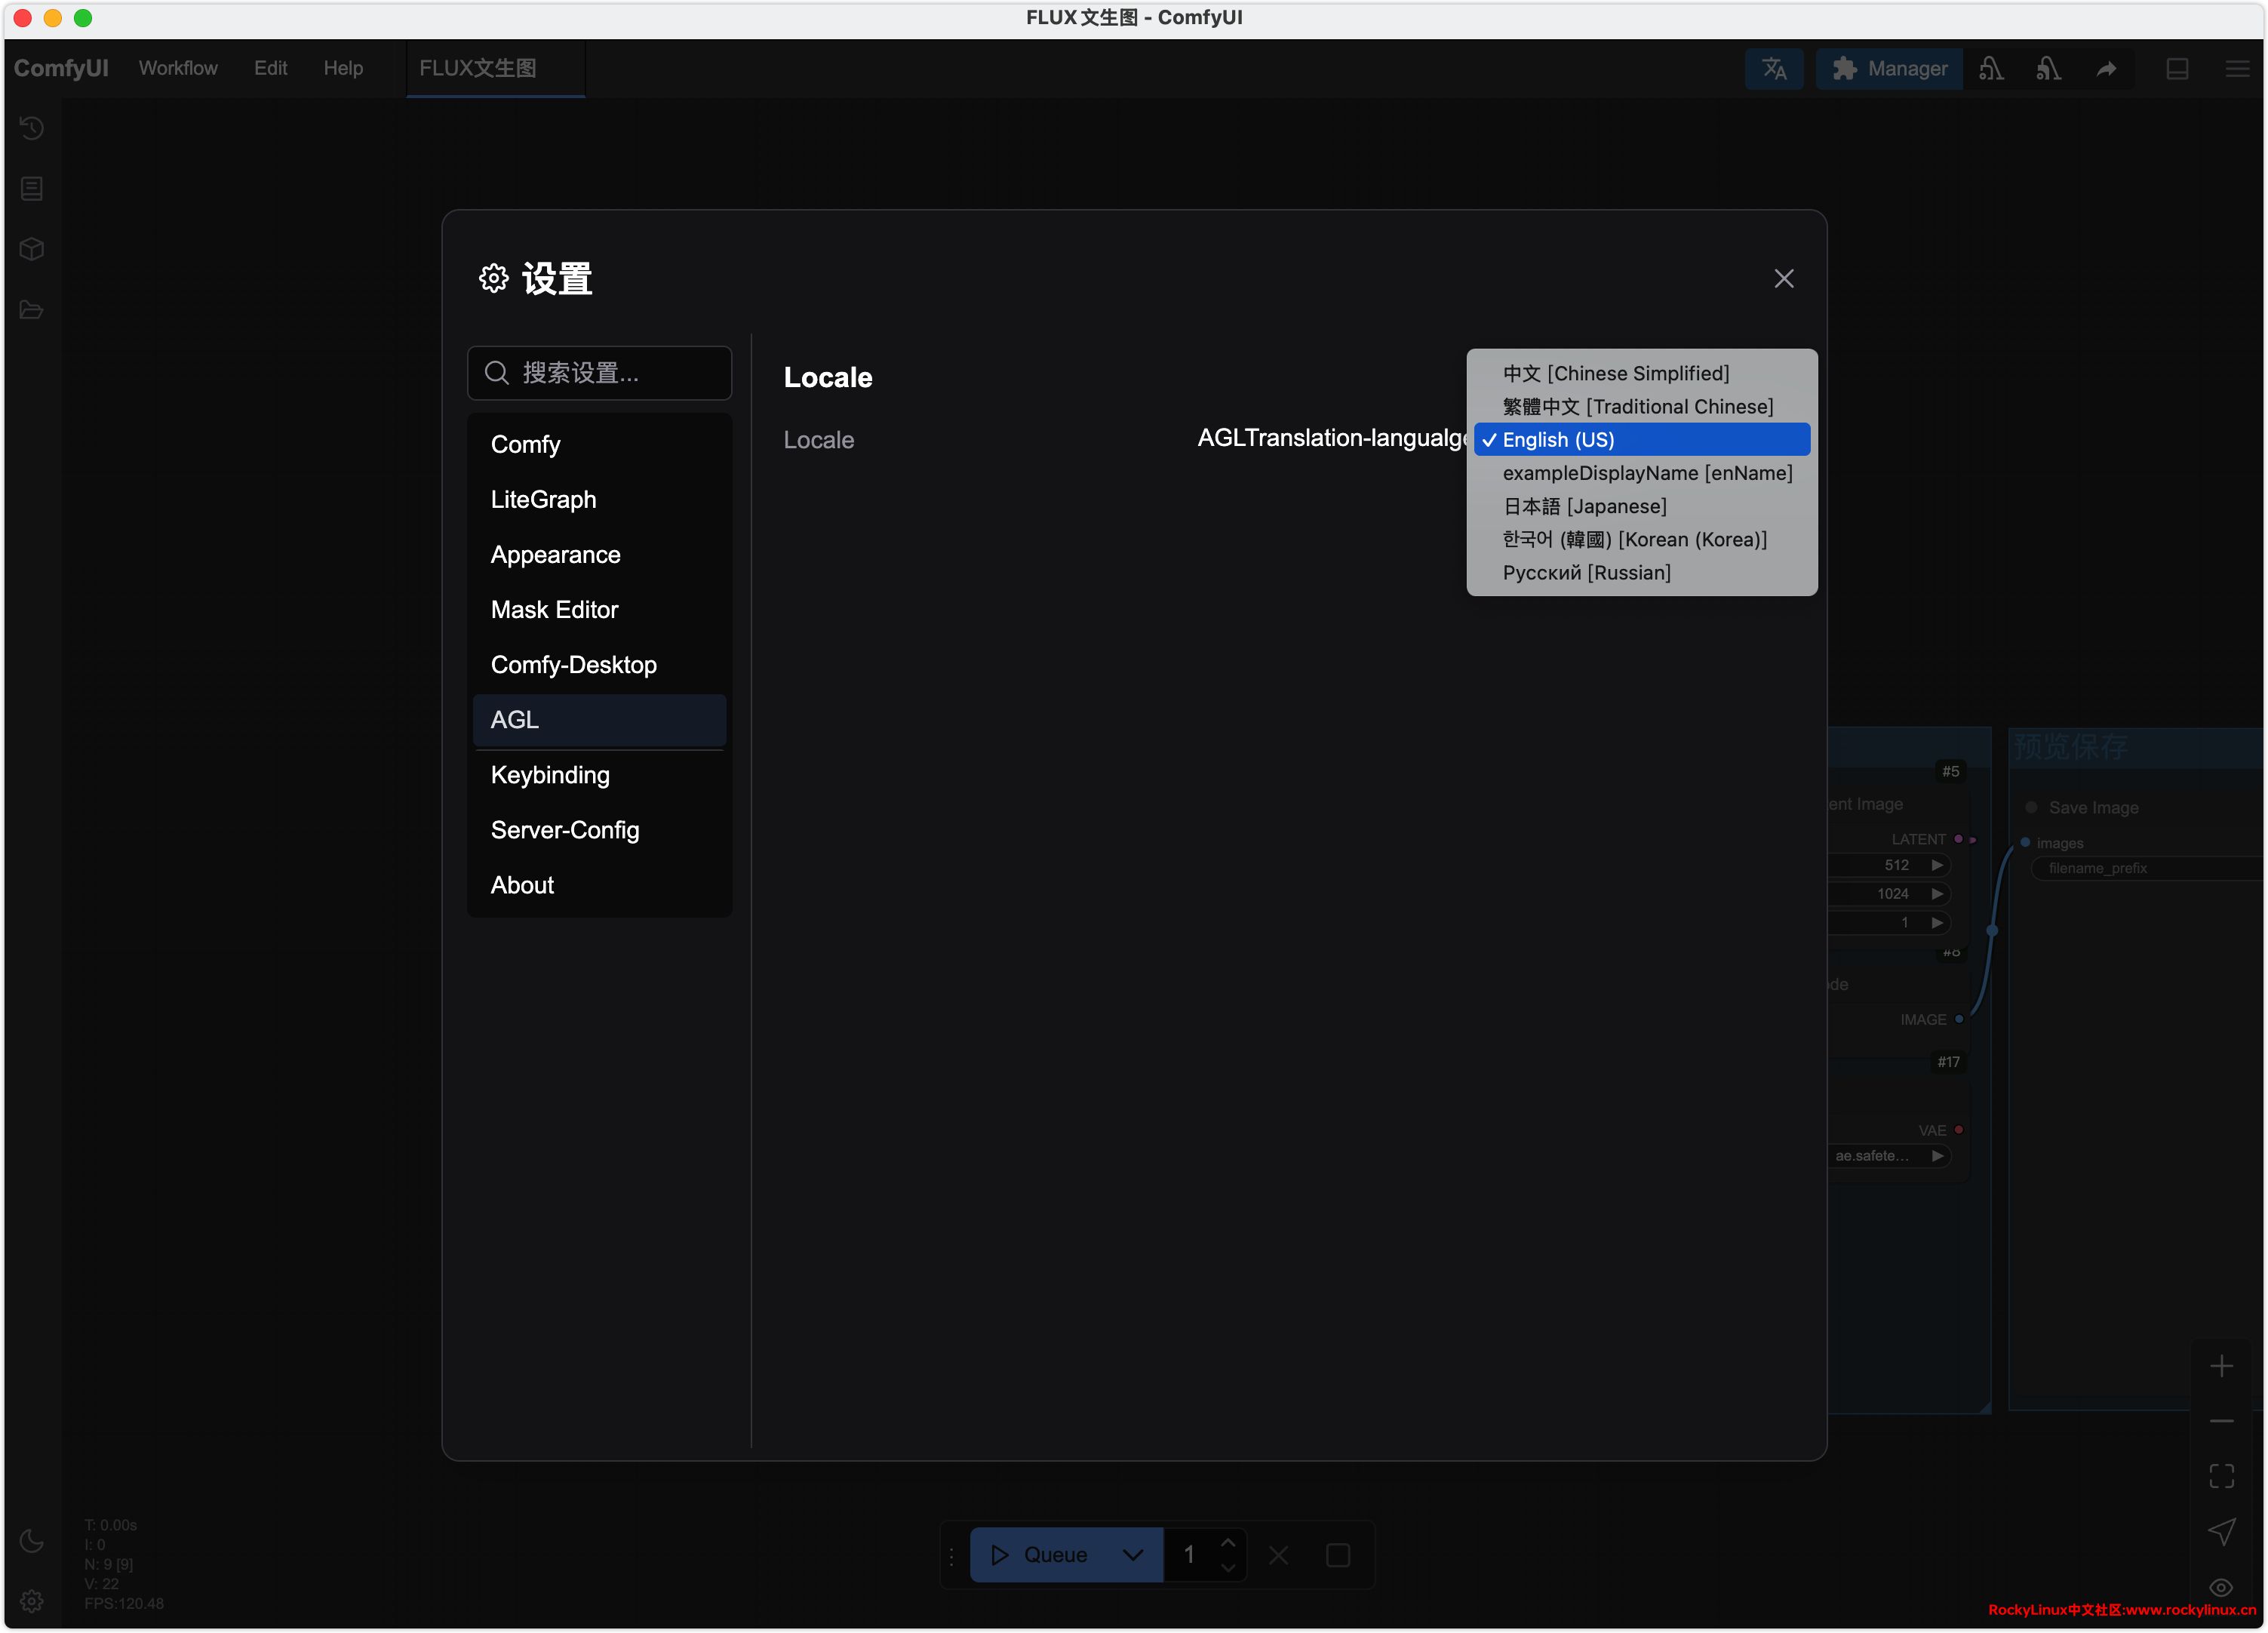
此时界面、工作流配置都是中文的了。
Python 虚拟环境
macOS ComfyUI 的 Python 虚拟环境位于安装目录的 .venv 目录下,所以如果您需要基于对应 Python 虚拟环境手动安装一些包,比如:pip install insightface==0.7.3,可以进入对应目录,激活 Python 虚拟环境,再进行安装。
# 进入对应安装目录
❯ cd /Volumes/SSD001/ComfyUI/.venv/bin

# 激活 Python 虚拟环境
❯ source ./activate

# 安装对应包
❯ pip install insightface==0.7.3

# 如果 macOS 在 ComfyUI python 虚拟环境中,找不到 pip 命令,解决方法:
curl https://bootstrap.pypa.io/get-pip.py -o get-pip.py
python get-pip.py
常见错误
错误 1
安装节点时报错:
ComfyUI Impact Pack fix failed: This action is not allowed with this security level configuration.macOS 桌面版 ComfyUI 的 ComfyUI-Manager 安装在 /Applications/ComfyUI.app/Contents/Resources/ComfyUI/custom_nodes/ComfyUI-Manager/ 目录。
❯ cd /Applications/ComfyUI.app/Contents/Resources/ComfyUI/custom_nodes/ComfyUI-Manager/

❯ cat config.ini
[default]
preview_method = none
badge_mode = none
git_exe =
channel_url = https://raw.githubusercontent.com/ltdrdata/ComfyUI-Manager/main
share_option = all
bypass_ssl = False
file_logging = True
default_ui = none
component_policy = workflow
double_click_policy = copy-all
windows_selector_event_loop_policy = False
model_download_by_agent = False
downgrade_blacklist =
security_level = weak # 修改 security_level = normal 改为 security_level = weak 后,重启 ComfyUI 即可。
错误 2
[ComfyUI-Manager] All startup tasks have been completed.
got prompt
!!! Exception during processing !!! 'NoneType' object is not callable
Traceback (most recent call last):
  File "/Applications/ComfyUI.app/Contents/Resources/ComfyUI/execution.py", line 361, in execute
    output_data, output_ui, has_subgraph = get_output_data(obj, input_data_all, execution_block_cb=execution_block_cb, pre_execute_cb=pre_execute_cb)
                                           ^^^^^^^^^^^^^^^^^^^^^^^^^^^^^^^^^^^^^^^^^^^^^^^^^^^^^^^^^^^^^^^^^^^^^^^^^^^^^^^^^^^^^^^^^^^^^^^^^^^^^^^^^^
  File "/Applications/ComfyUI.app/Contents/Resources/ComfyUI/execution.py", line 236, in get_output_data
    return_values = _map_node_over_list(obj, input_data_all, obj.FUNCTION, allow_interrupt=True, execution_block_cb=execution_block_cb, pre_execute_cb=pre_execute_cb)
                    ^^^^^^^^^^^^^^^^^^^^^^^^^^^^^^^^^^^^^^^^^^^^^^^^^^^^^^^^^^^^^^^^^^^^^^^^^^^^^^^^^^^^^^^^^^^^^^^^^^^^^^^^^^^^^^^^^^^^^^^^^^^^^^^^^^^^^^^^^^^^^^^^^^
  File "/Applications/ComfyUI.app/Contents/Resources/ComfyUI/execution.py", line 208, in _map_node_over_list
    process_inputs(input_dict, i)
  File "/Applications/ComfyUI.app/Contents/Resources/ComfyUI/execution.py", line 197, in process_inputs
    results.append(getattr(obj, func)(**inputs))
                   ^^^^^^^^^^^^^^^^^^^^^^^^^^^^
  File "/Volumes/SSD01/ComfyUI/custom_nodes/comfyui_layerstyle/py/florence2_ultra.py", line 585, in florence2_image2prompt
    results, output_image = process_image(model, processor, img, task, max_new_tokens, num_beams,
                            ^^^^^^^^^^^^^^^^^^^^^^^^^^^^^^^^^^^^^^^^^^^^^^^^^^^^^^^^^^^^^^^^^^^^^
  File "/Volumes/SSD01/ComfyUI/custom_nodes/comfyui_layerstyle/py/florence2_ultra.py", line 239, in process_image
    result = run_example(model, processor, task_prompt, image, max_new_tokens, num_beams, do_sample)
             ^^^^^^^^^^^^^^^^^^^^^^^^^^^^^^^^^^^^^^^^^^^^^^^^^^^^^^^^^^^^^^^^^^^^^^^^^^^^^^^^^^^^^^^
  File "/Volumes/SSD01/ComfyUI/custom_nodes/comfyui_layerstyle/py/florence2_ultra.py", line 210, in run_example
    inputs = processor(text=prompt, images=image, return_tensors="pt").to(device)
             ^^^^^^^^^^^^^^^^^^^^^^^^^^^^^^^^^^^^^^^^^^^^^^^^^^^^^^^^^
TypeError: 'NoneType' object is not callable
在是当我们在跑 Flux 高清修复工作流时,需要用到 ComfyUI_LayerStyle,但这个只支持 transformers==4.49.0,高版本的 transformers 就会报如上错误,所以需要降低 transformers 版本至 4.49.0。
详细参考:'NoneType' object is not callable... can't use florence after new comfyui install · Issue #322 · chflame163/ComfyUI_LayerStyle
fairscale==0.4.0
transformers==4.49.0
torchscale==0.3.0
文生图演示
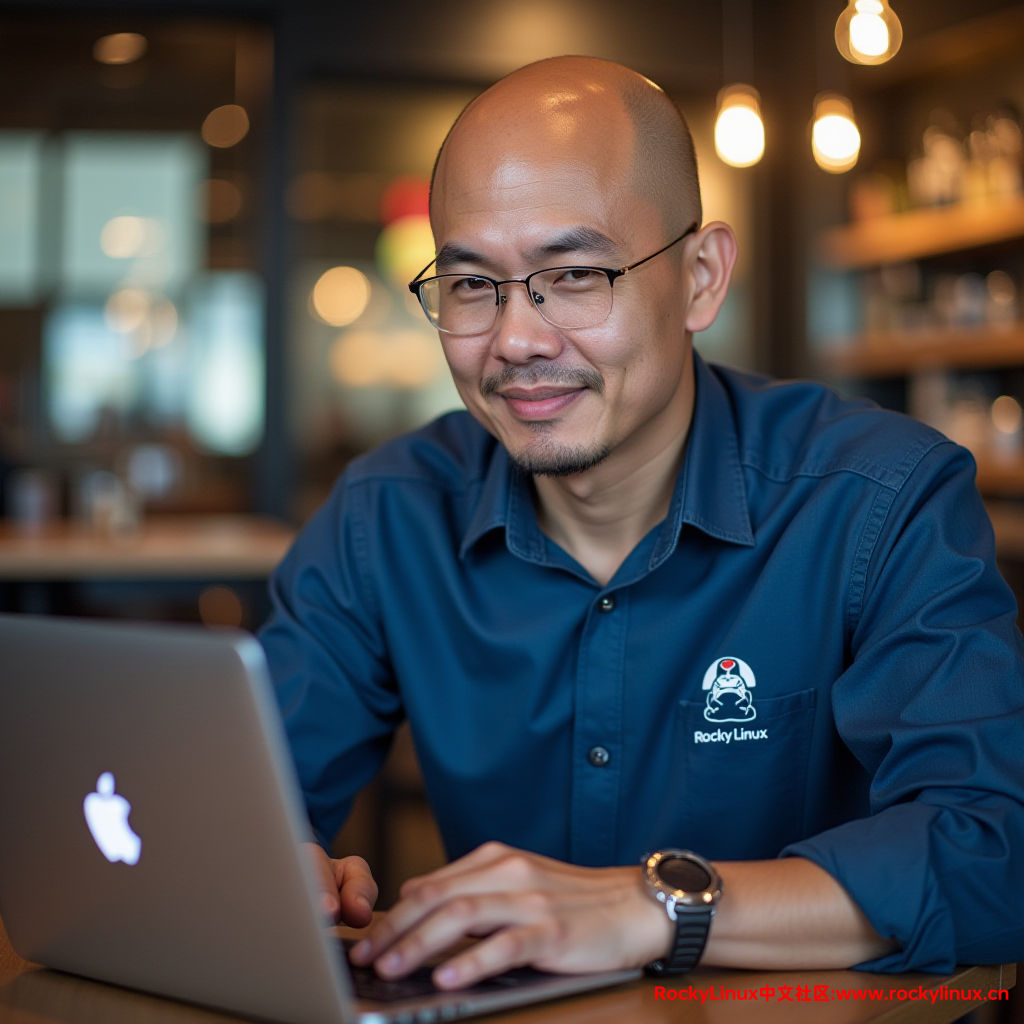
马上会出一篇关于 ComfyUI Flux1.Dev 文生图教程,先来两张自述照,感觉生成的还挺精准 😂😂😂。

变更记录
- 2024-12-18
- 新增 macOS Python 虚拟环境配置说明
- 2025-07-05
- 更新 ComfyUI v0.3.43 安装流程
- 新增 ComfyUI Python 虚拟环境无
pip命令解决方法 - 新增 “错误 2” 解决方法